Game Boy Advance Rebuild: A Semi-Tutorial
- DATE
September 2022
My first foray into tinkering with vintage electronics: modifying my old Game Boy Advance.
The goal was to bring the original hardware into the modern day by adding some basic usability and quality-of-life features, while keeping the same fundamental user experience. That led to a few specific choices in hardware changes, or lack thereof.
The main upgrade is the screen. The stock GBA screen is, to put it generously, absolute dogshit - a 240x160 LCD display with no backlight, famously so bad it required goofy peripherals to make it at all usable. There are plenty of modern screen replacements available, most of which use a newly manufactured LCD screen (IPS) with a much higher resolution than the original GBA screen.
IPS screens, however, render pixel images differently. Much like how old CRT TVs naturally smooth out pixel graphics, the GBA screen has a specific look to it, mostly in its noticeable pixel definition. And much like how game devs of the time designed with CRT displays in mind, GBA games were designed for the GBA screen specifically.
A modern IPS display may be the best option, technically speaking, but it's not the most authentic.

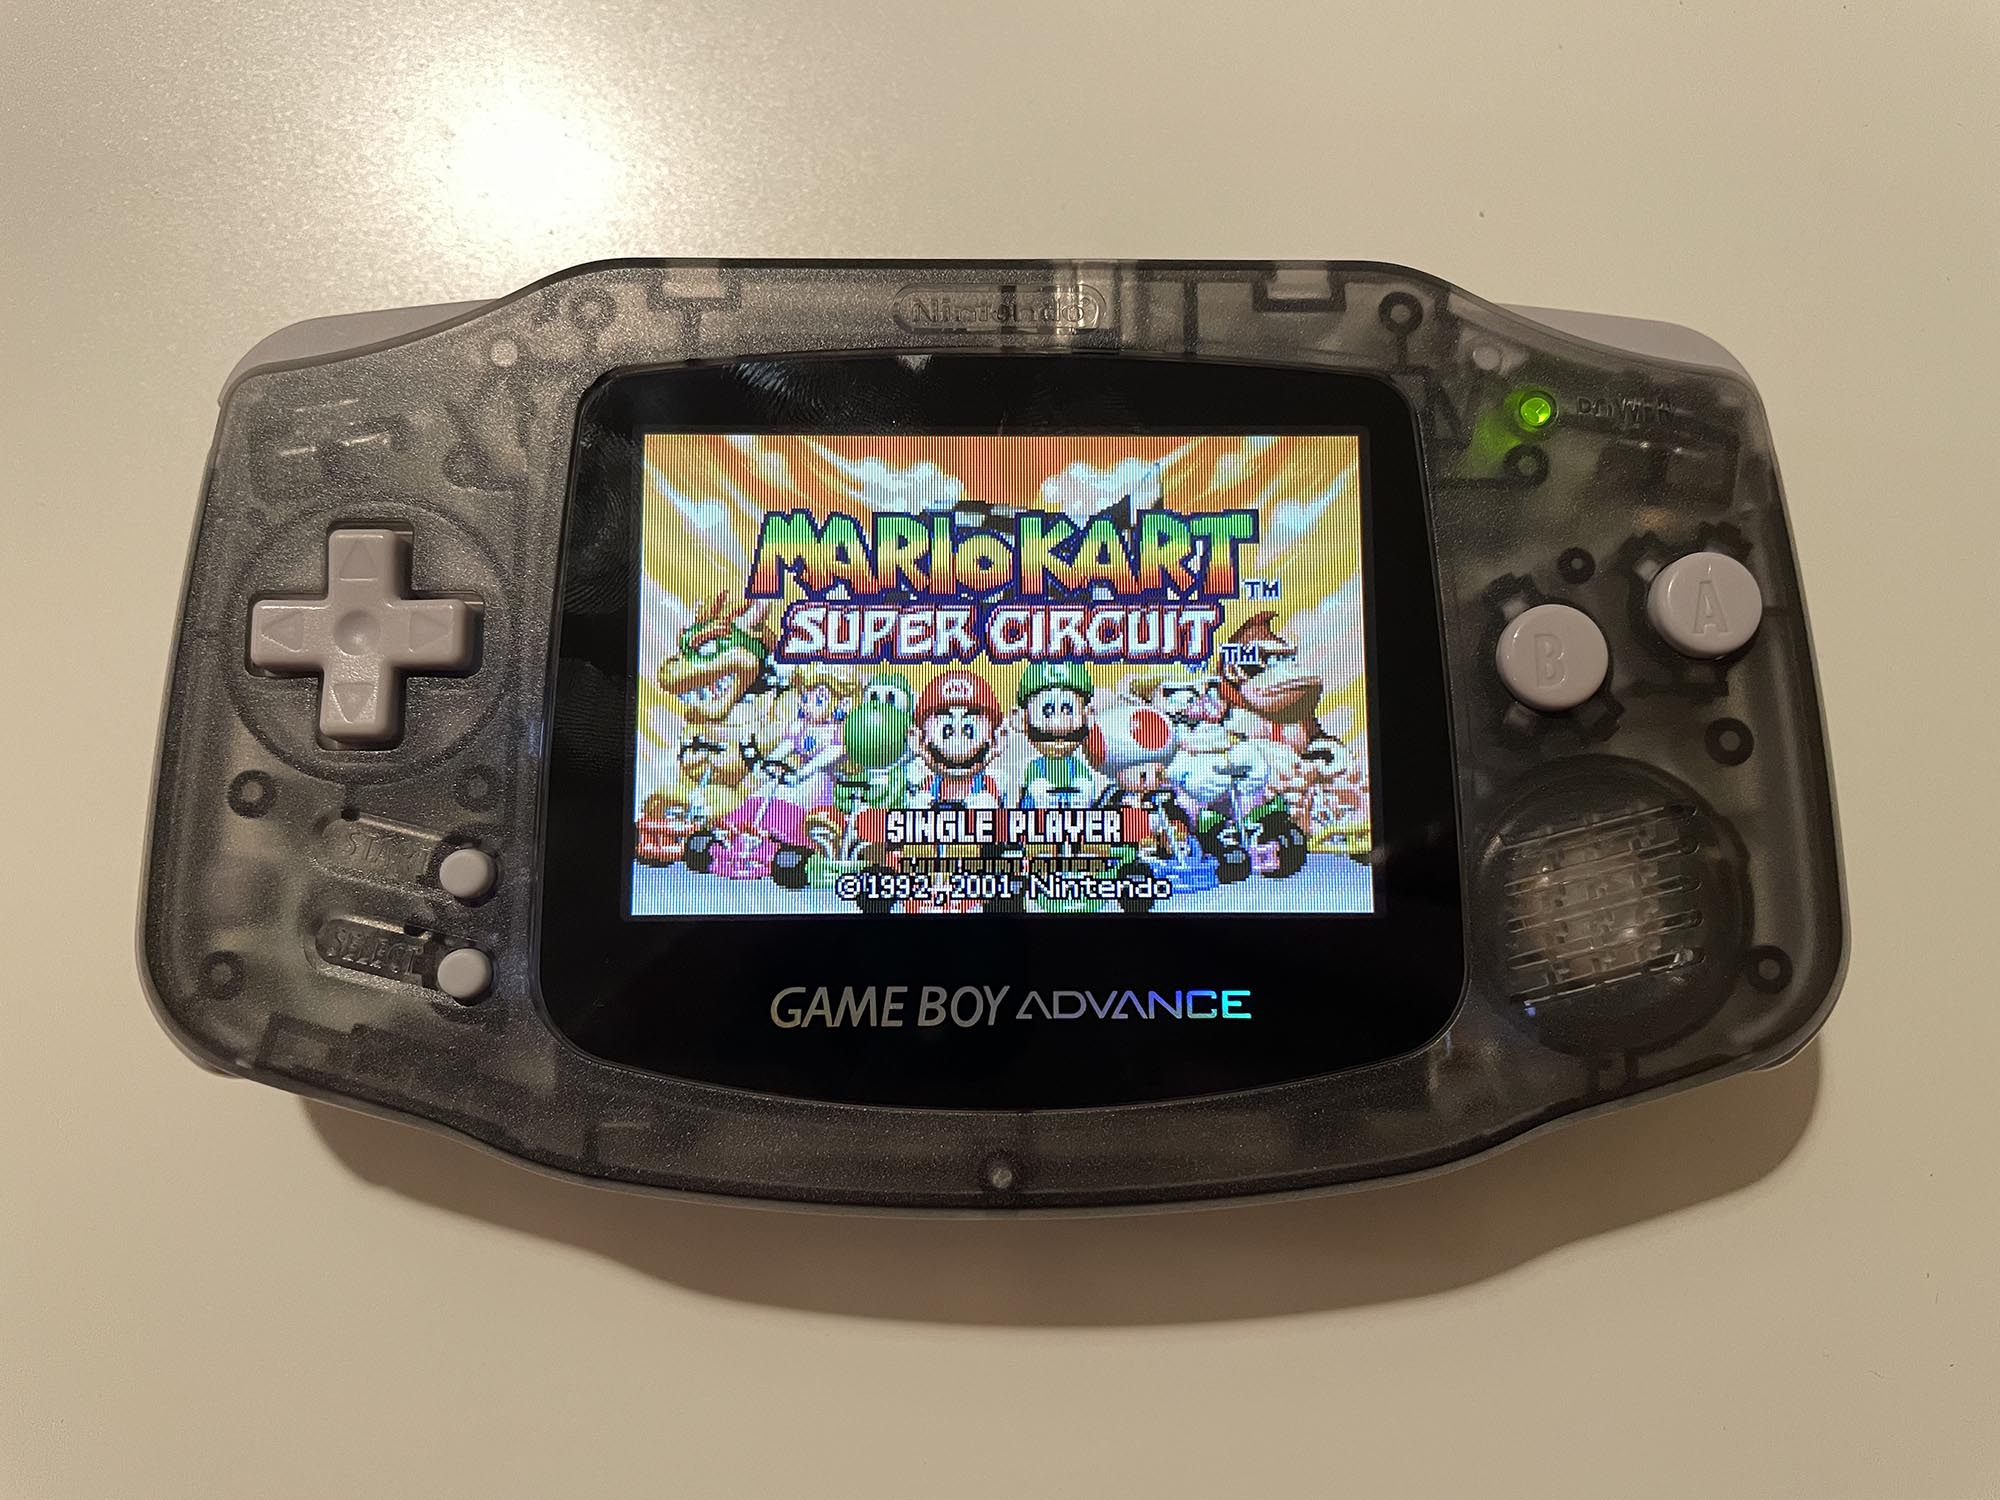
Instead, I opted for an "ITA" kit, which repurposes the bottom screen of a Nintendo DSi. It's backlit and has the exact same pixel density of the stock GBA screen, 240x160. It's essentially the same as the backlit GBA SP screen, and is as close to a 1:1 upgrade as you can do in the original hardware.
It also consumes much less power than an IPS screen, meaning battery life remains pretty solid.
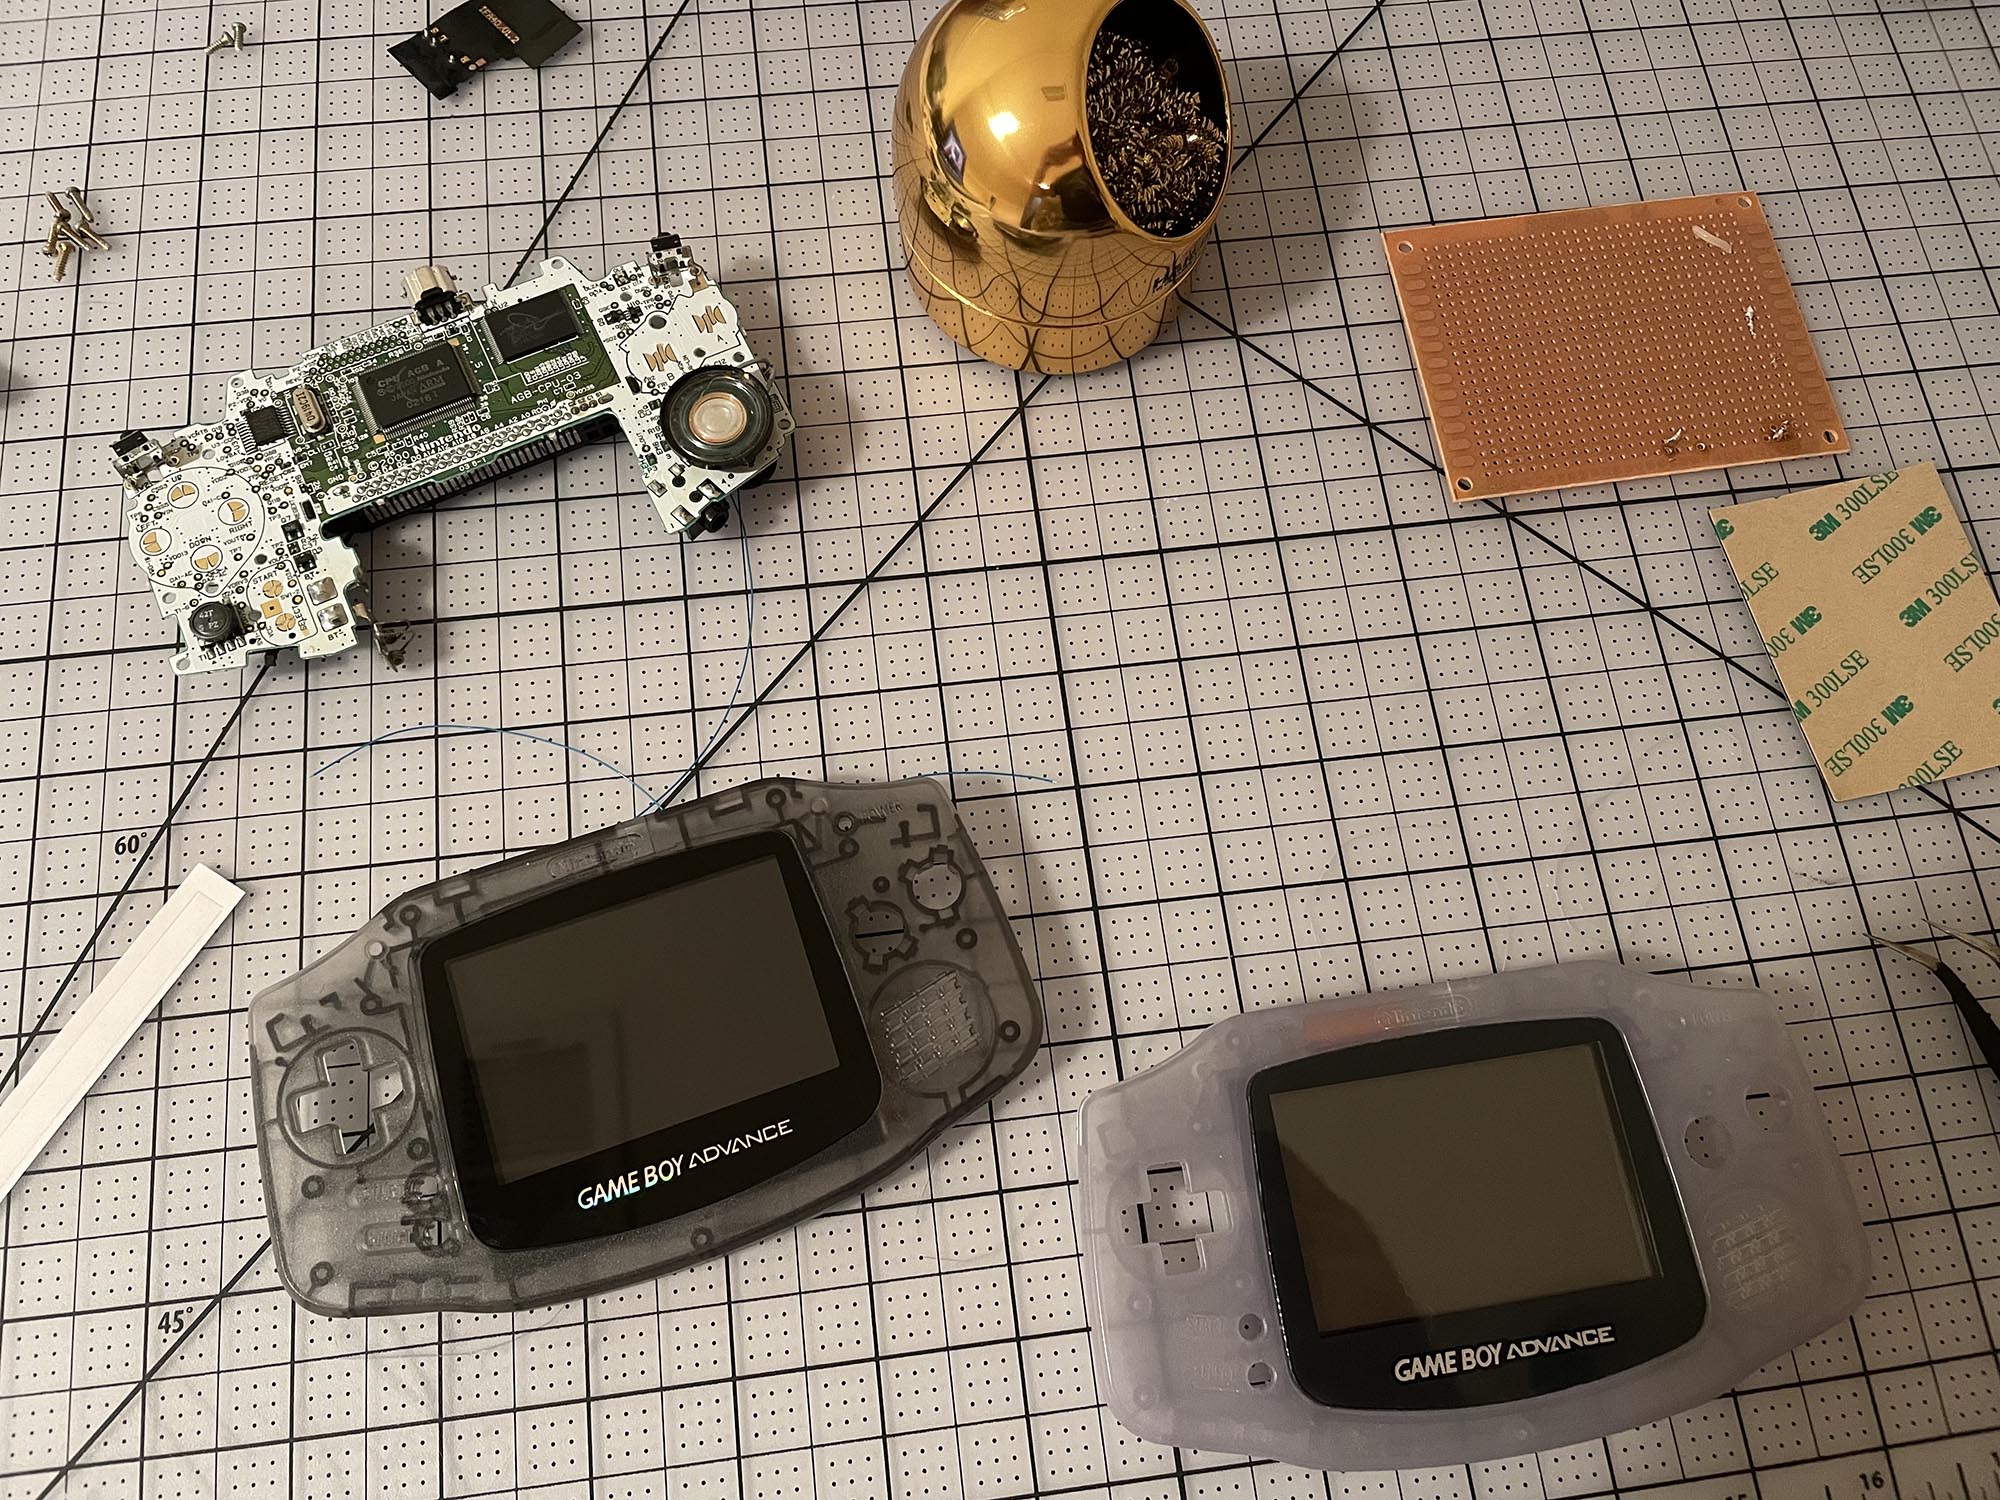
The screen is glued to the front part of the shell, so reusing the old Glacier shell would have required unsticking the screen, which could cause permanent damage. Translucent dark gray goes well with the original light gray buttons.
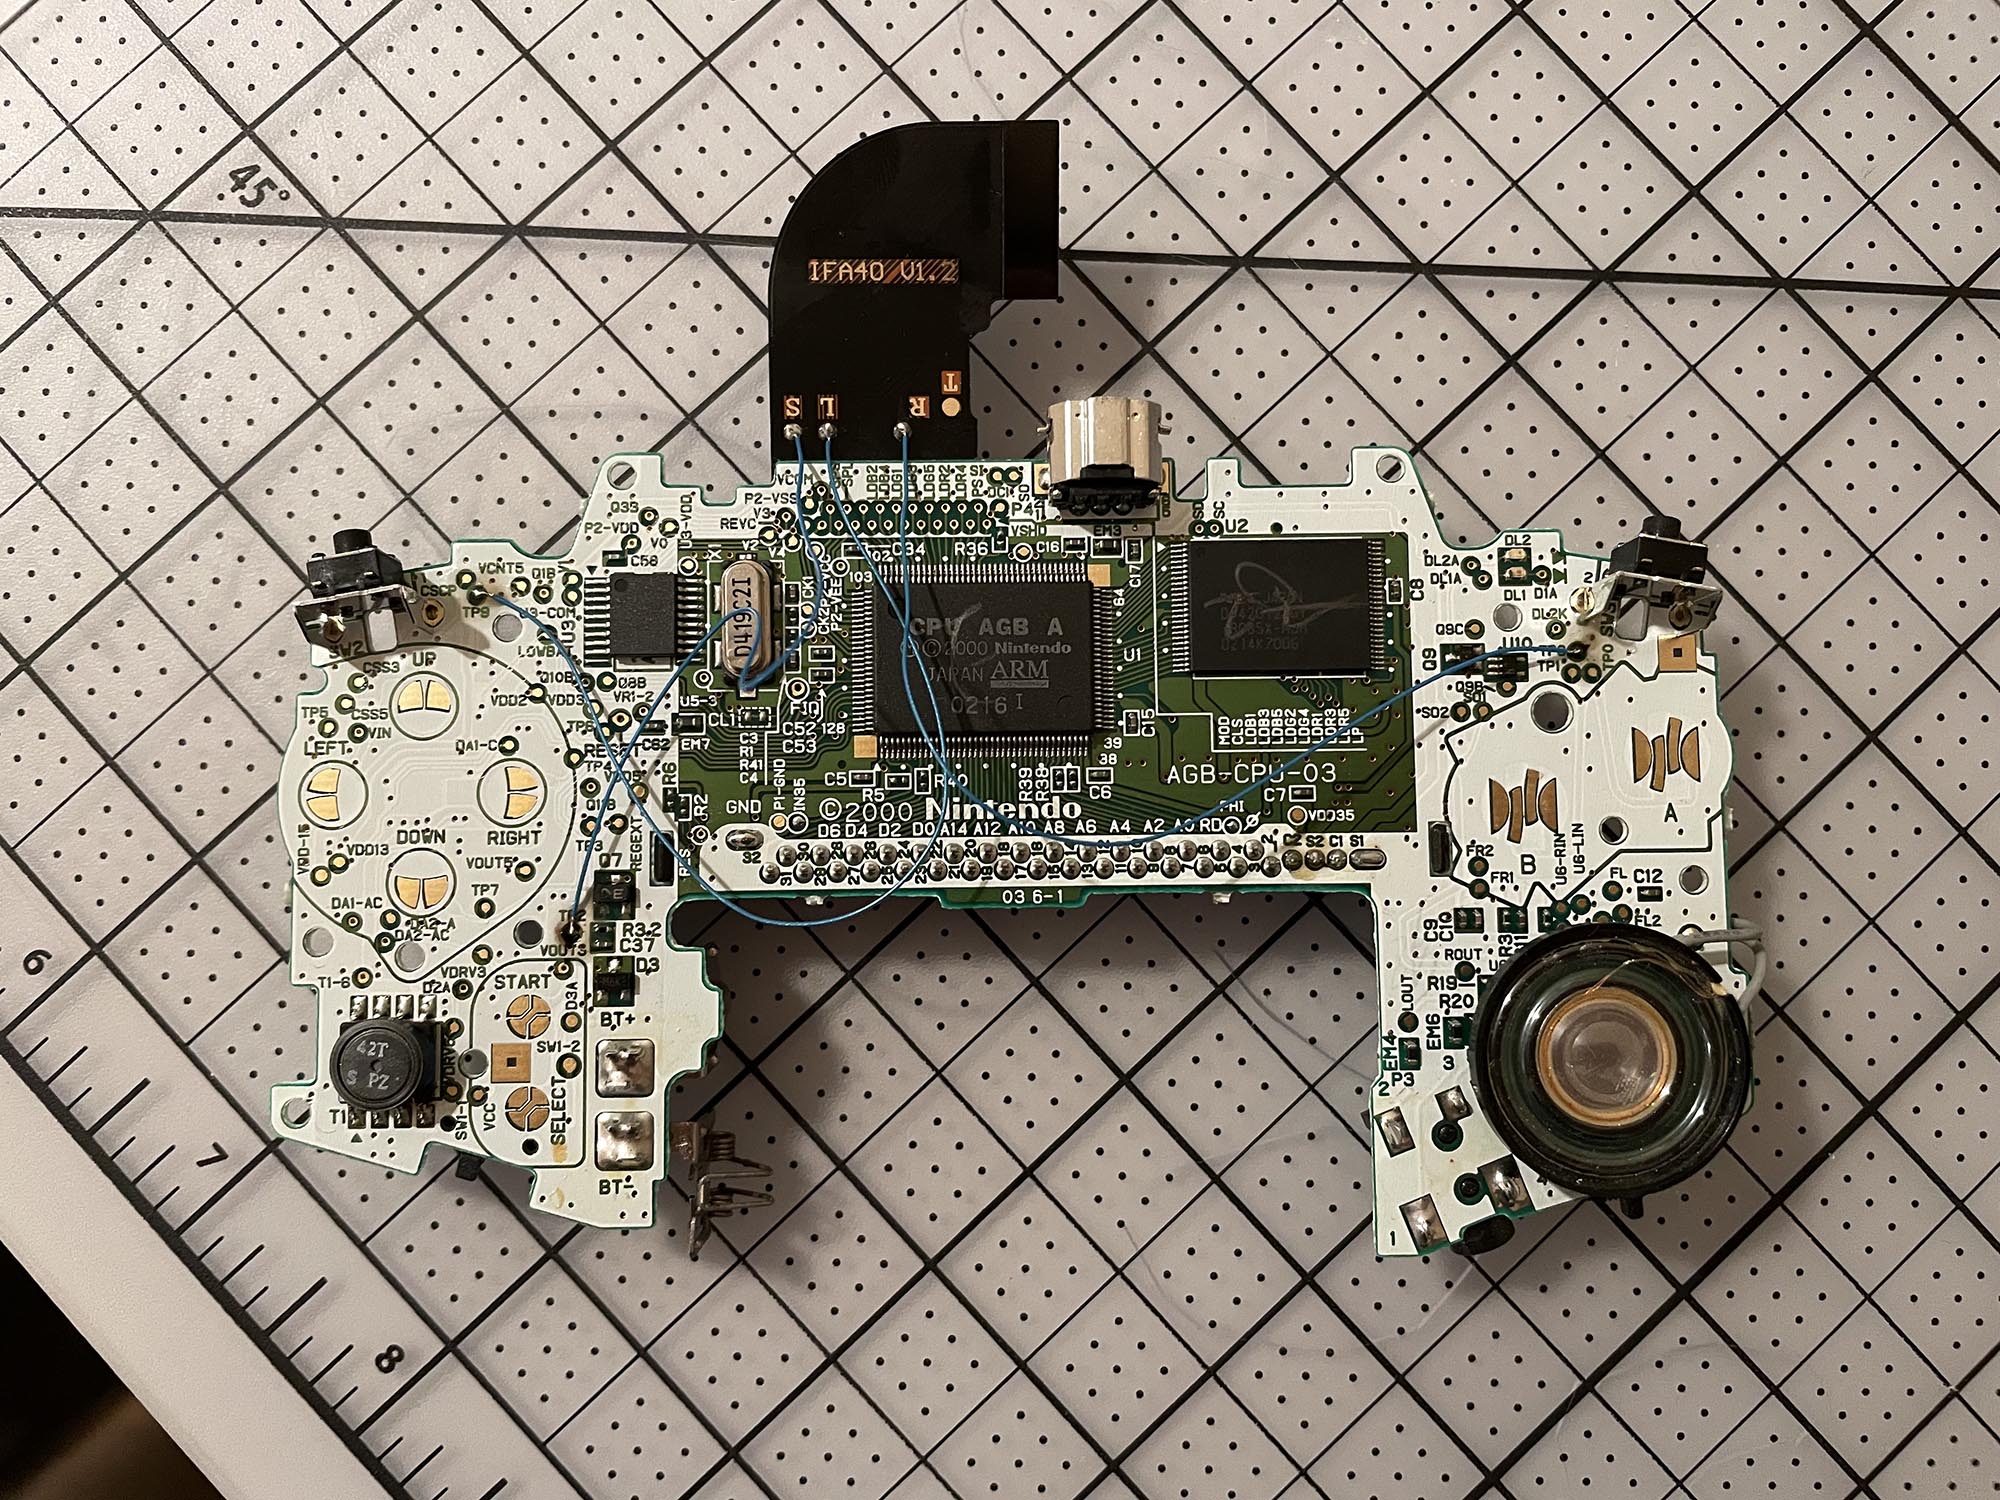
FunnyPlaying's ITA kit comes with the screen, a ribbon cable to attach to the motherboard, and three optional wires for brightness control. Technically this could have been a solderless "drop-in" mod, but I wanted an excuse to teach myself to solder.
Hold down Select and press R for brightness up, L for brightness down.
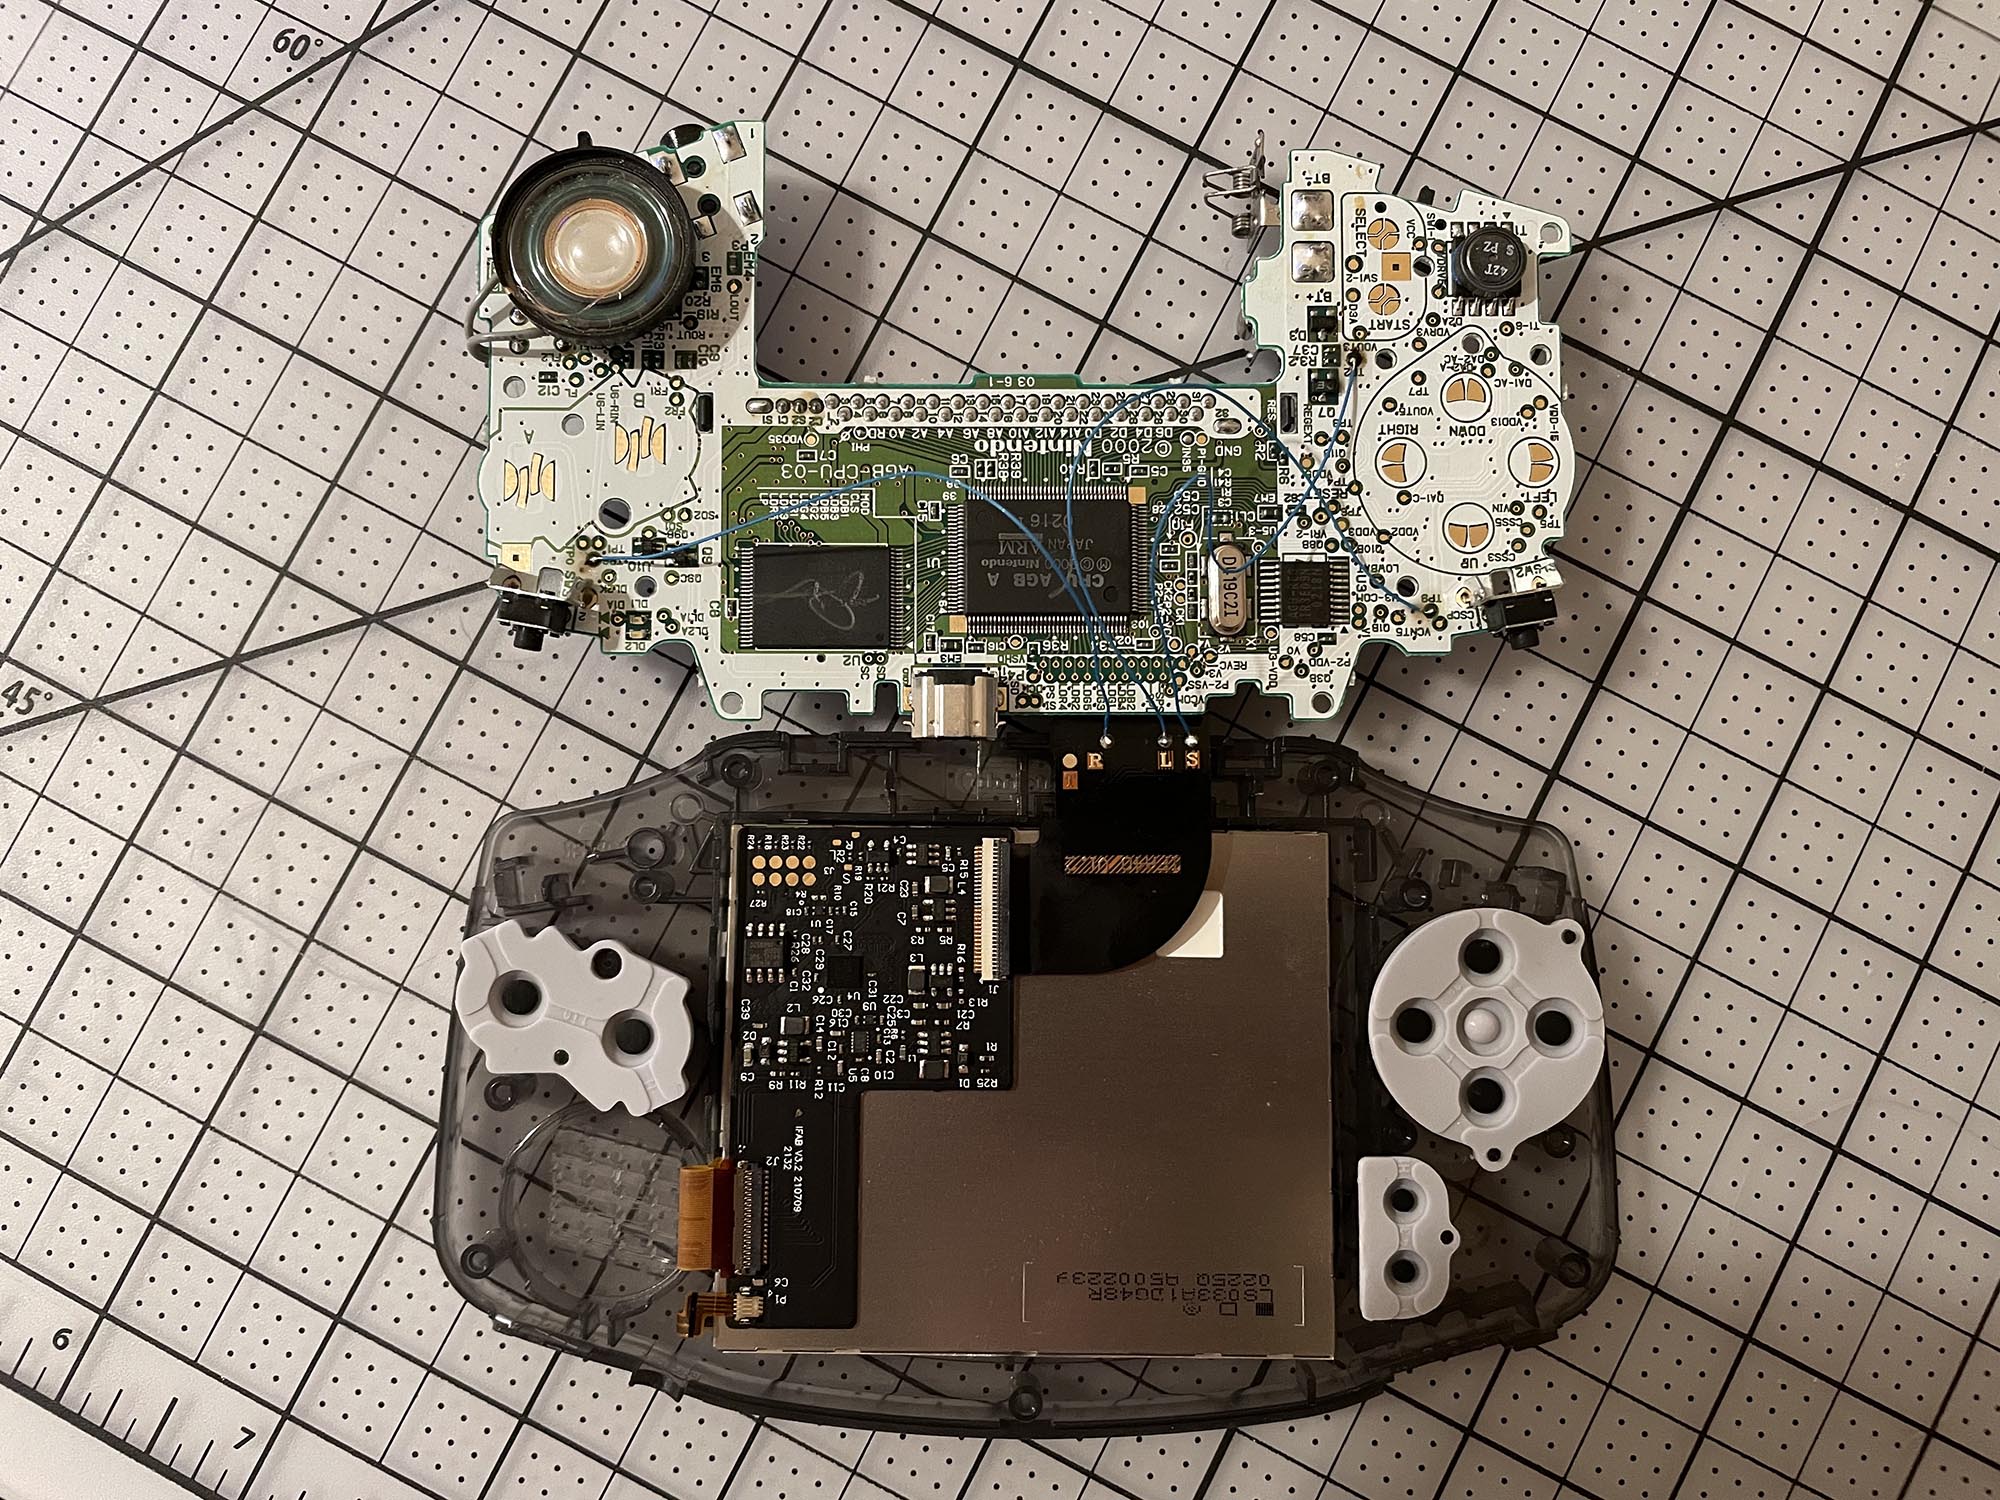
The front half of the shell, with the screen glued in place, gets attached to the motherboard via the ribbon cable.
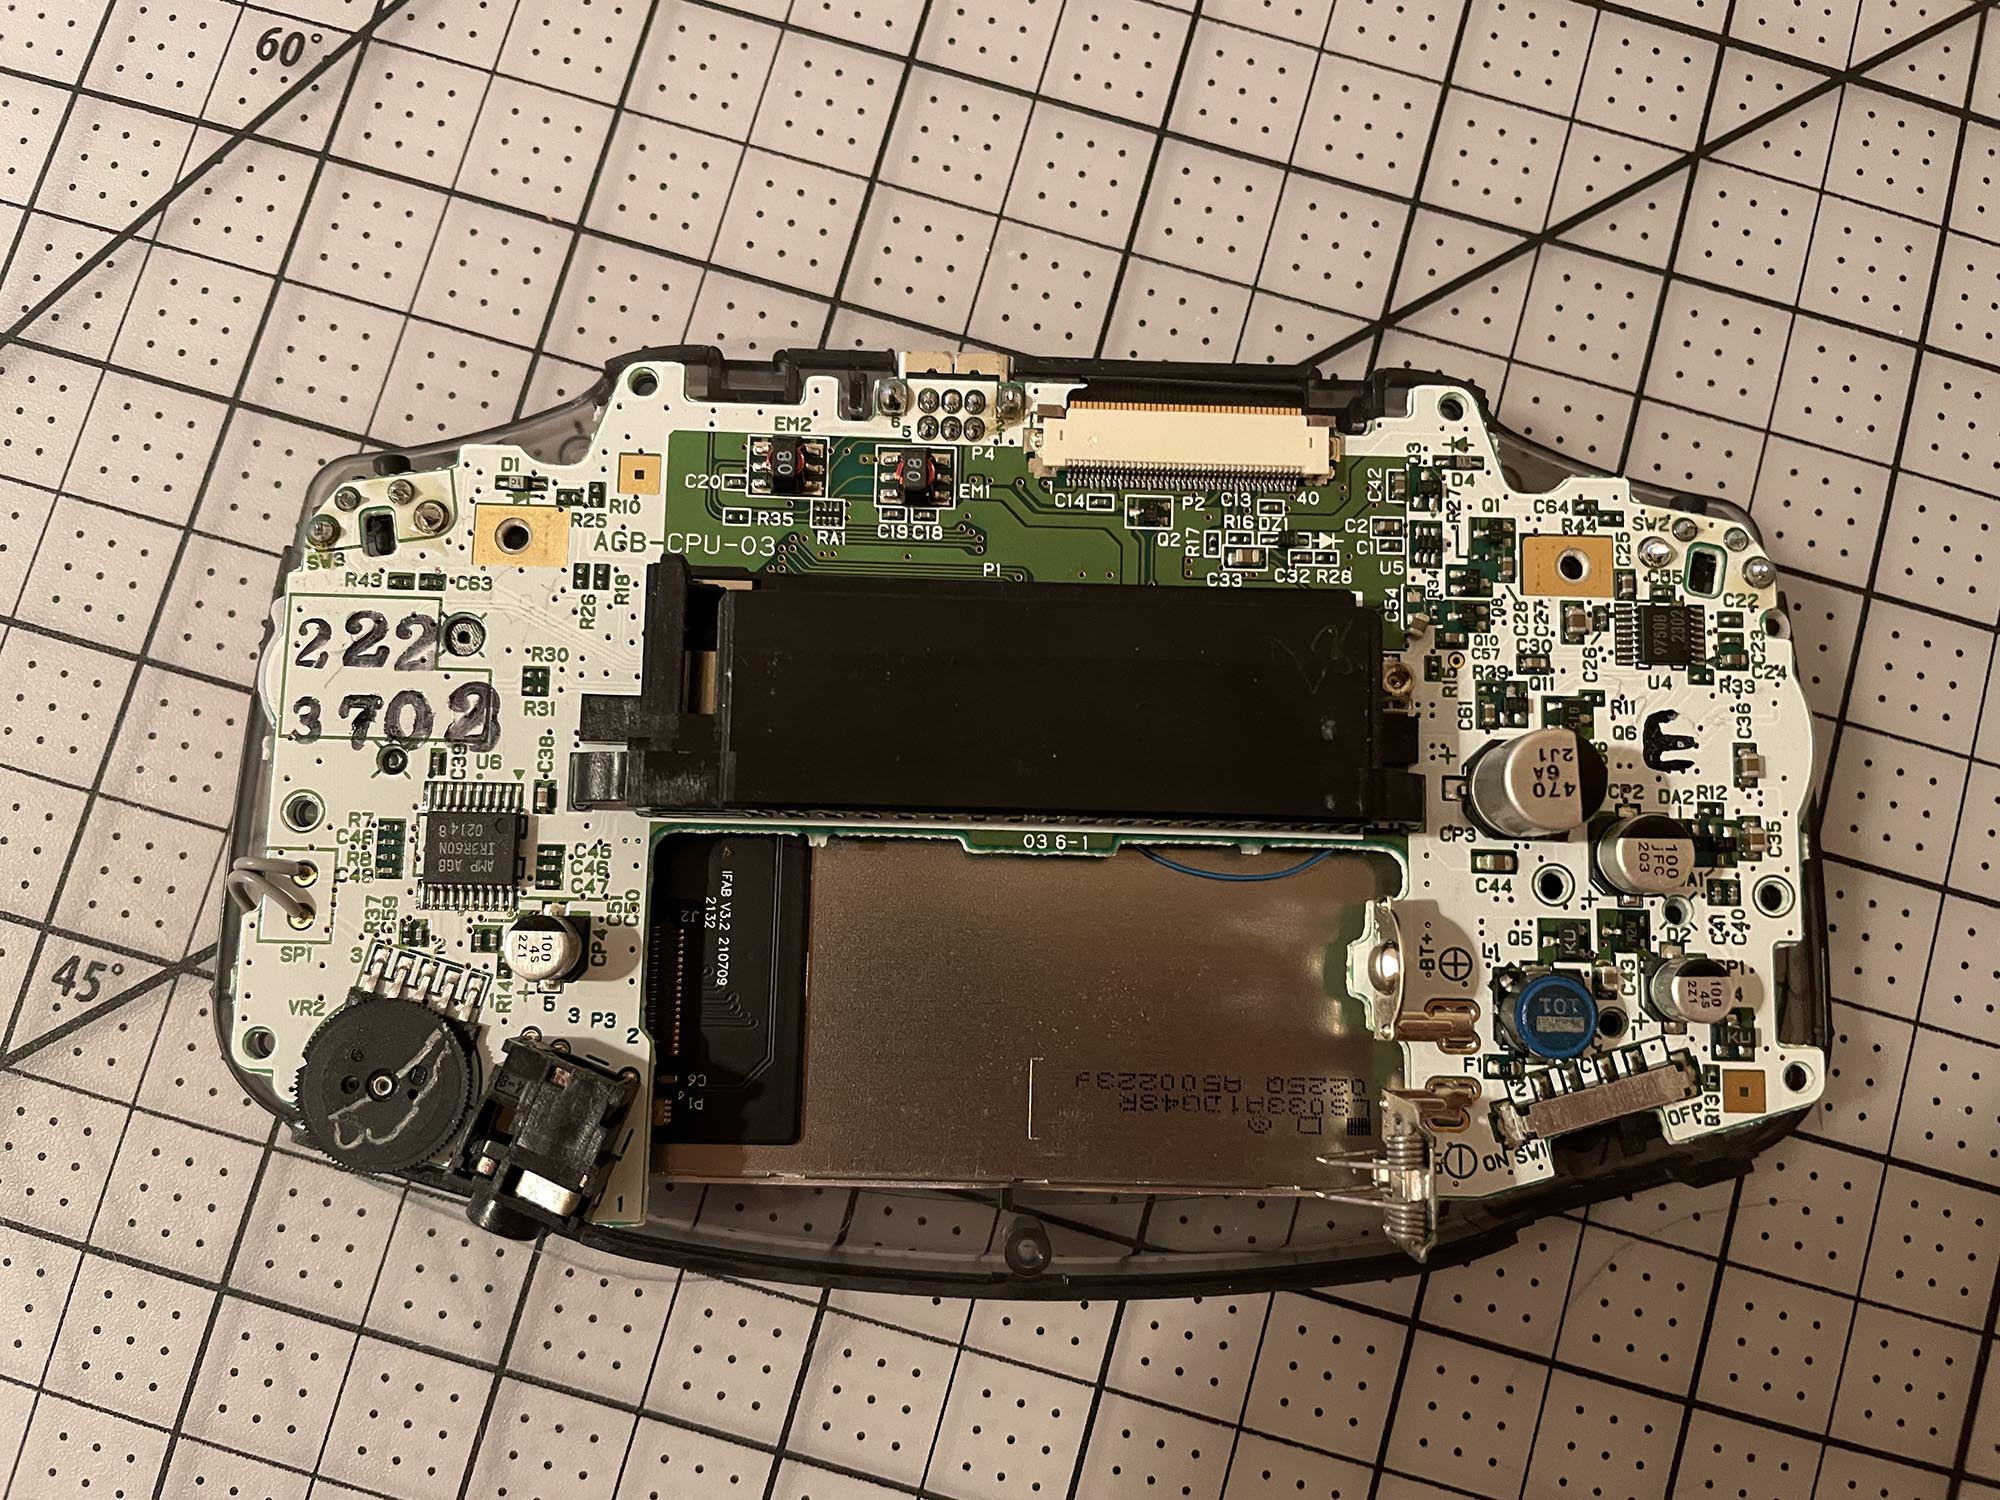
Flip the motherboard down on top of the screen, replace the shoulder buttons, screw the motherboard into the front shell, and attach the back shell.
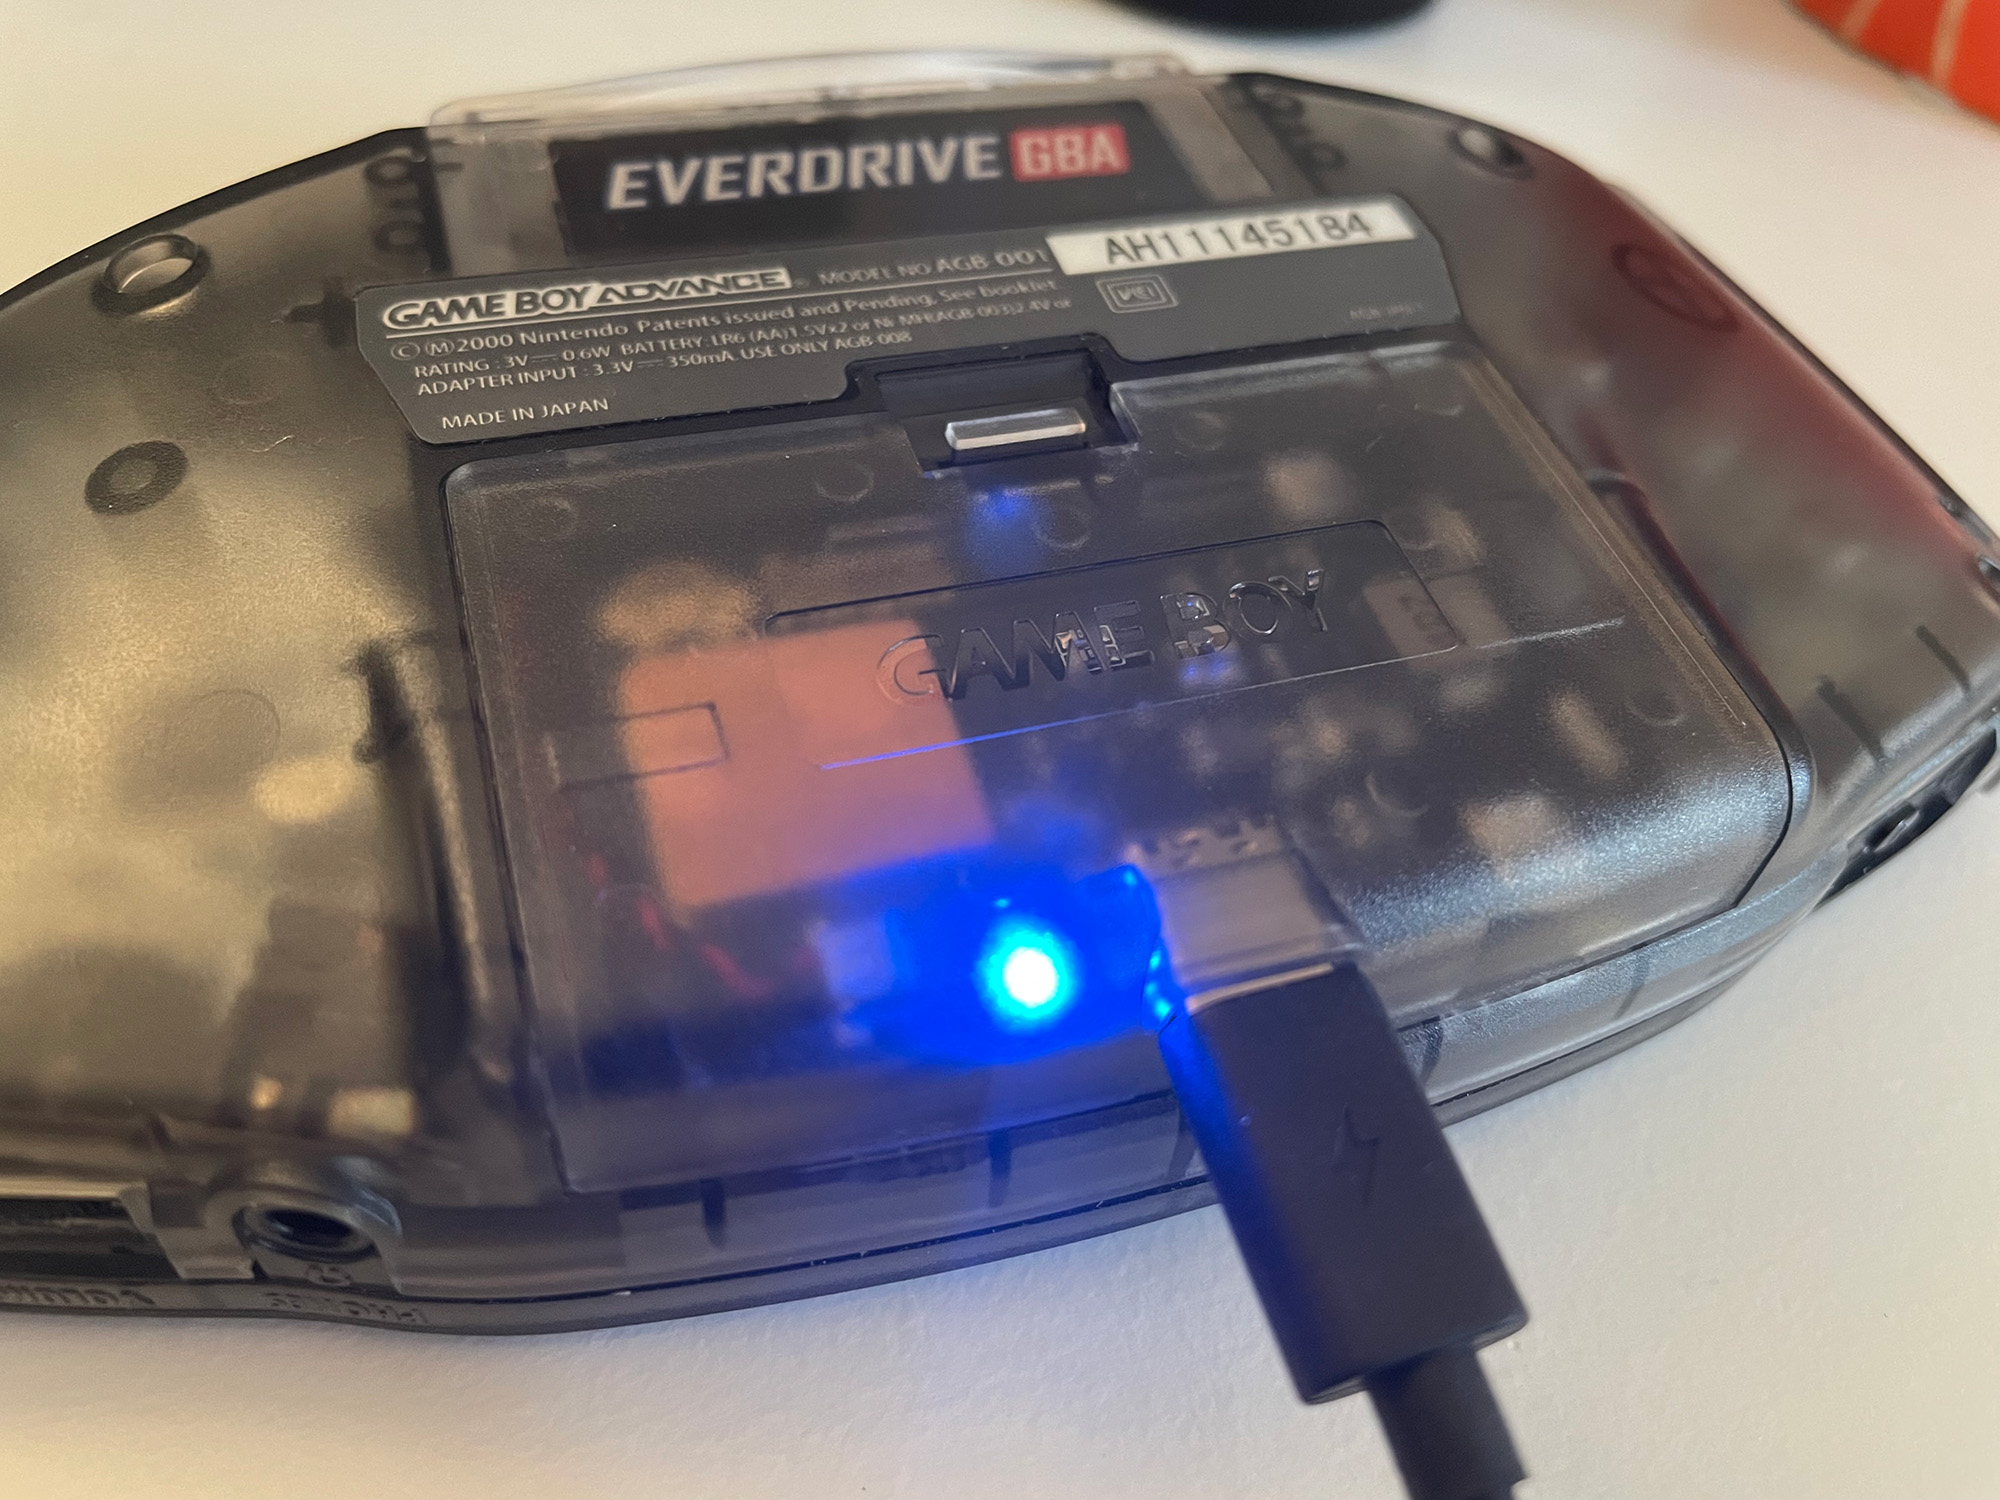
Along with the screen and new shell, there are two other major upgrades: an Everdrive GBA and a USB-C rechargeable battery that slots right into the battery compartment.
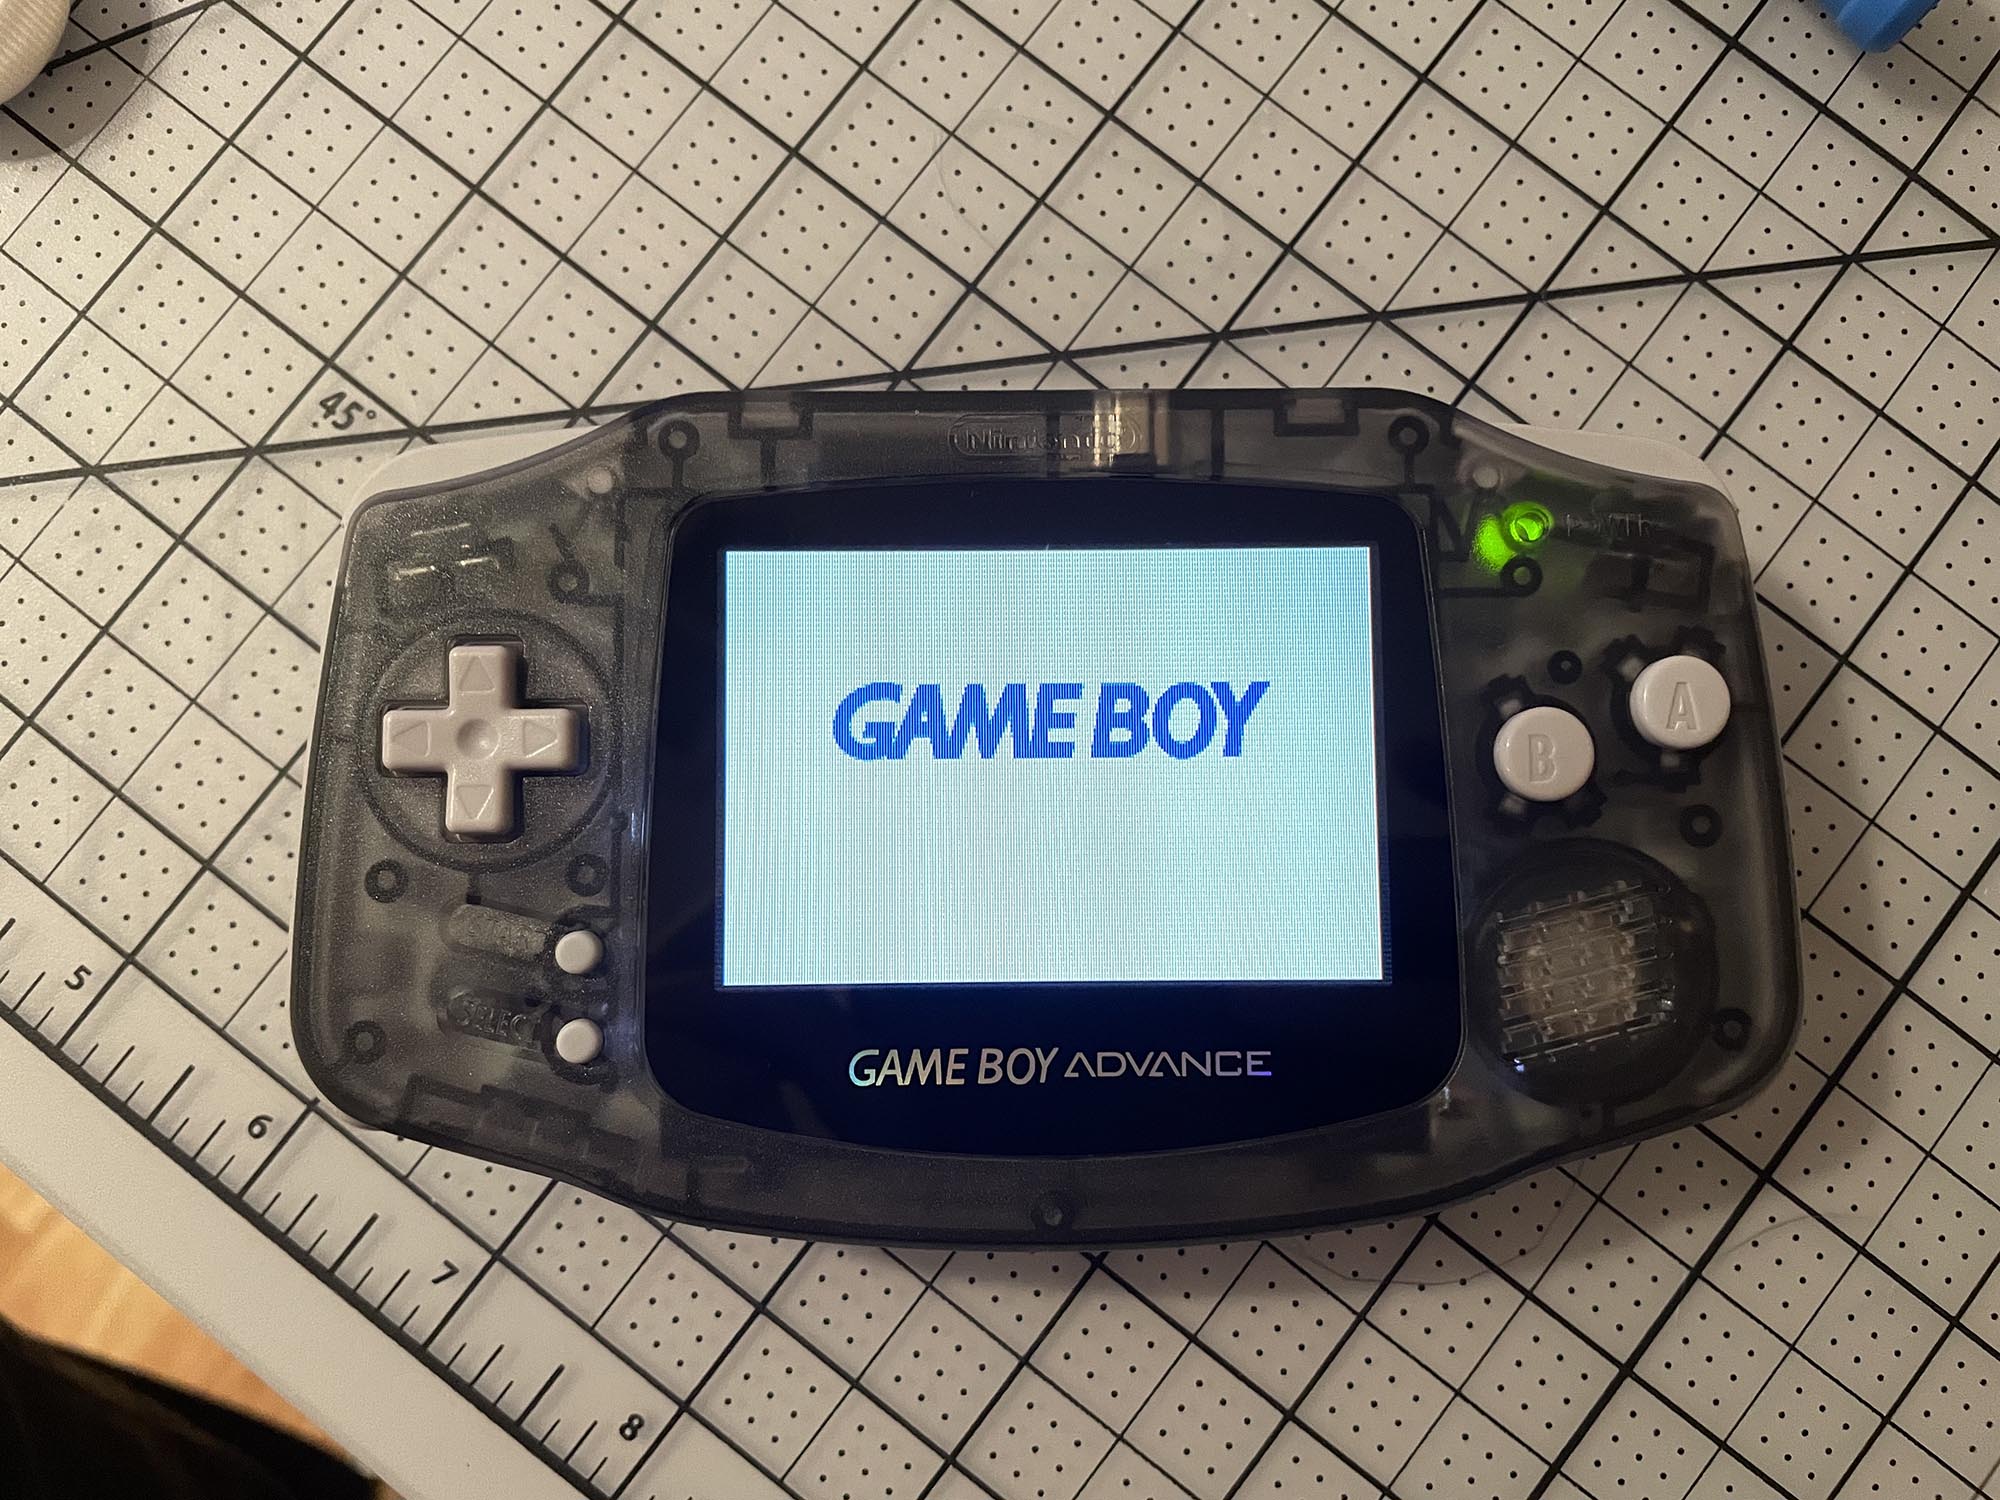
It works!
(Not pictured: me forgetting to replace the power switch and needing to disassemble it fully and put it back together. Oops.)
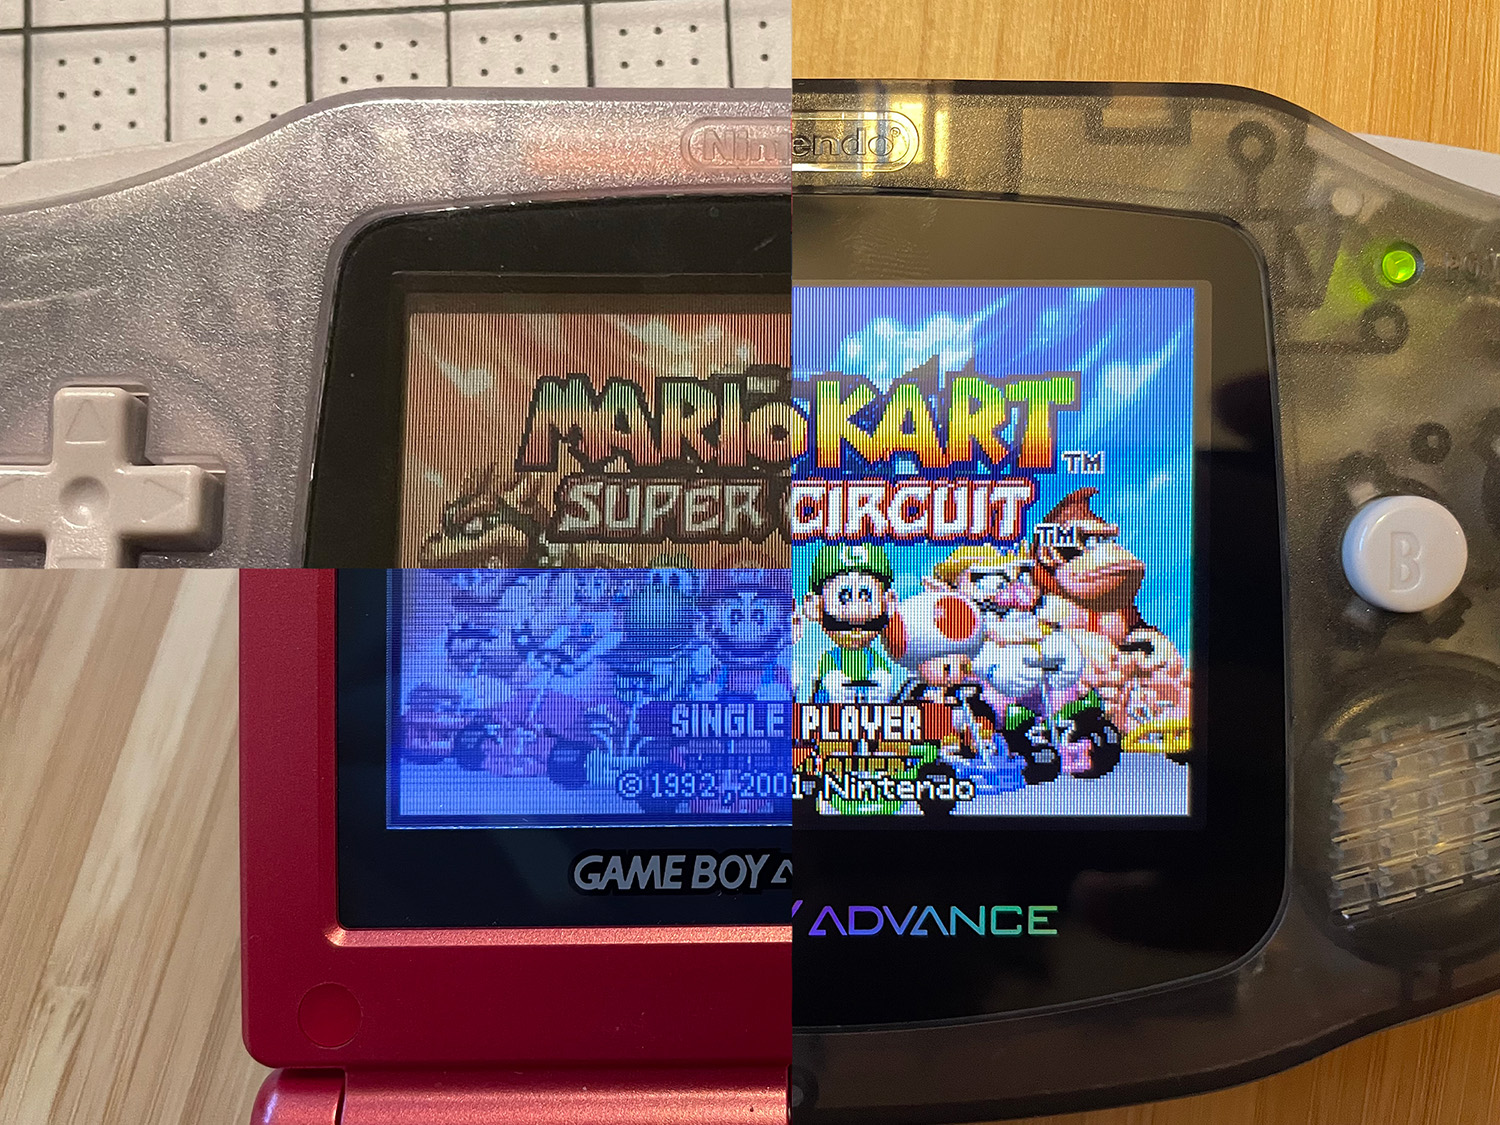
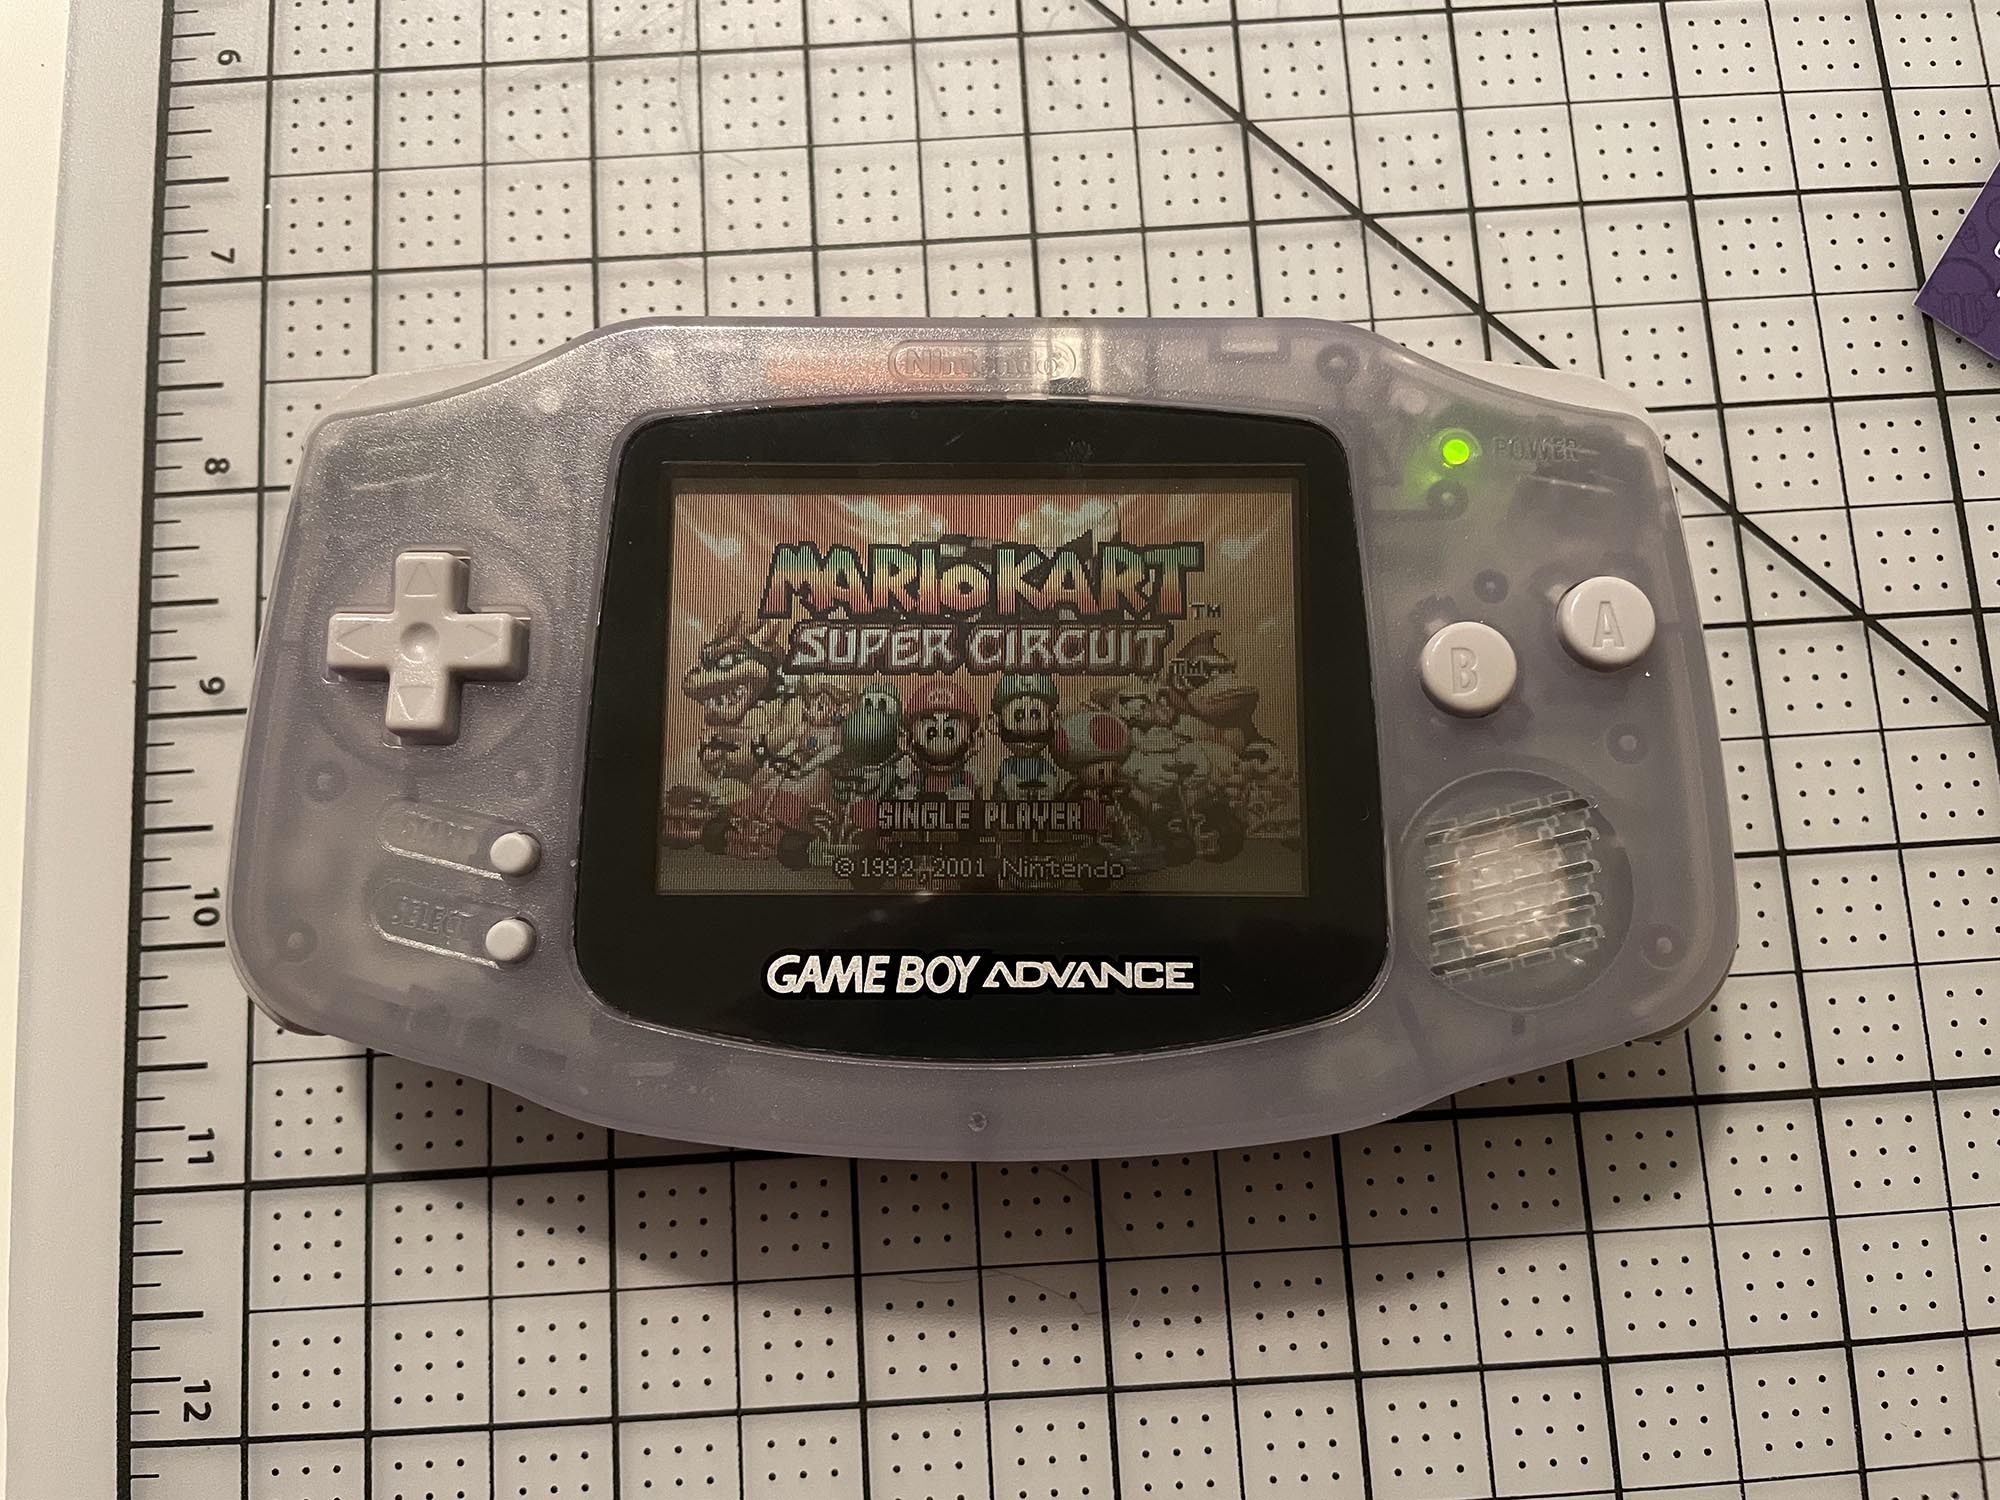
A comparison with the stock GBA and a frontlit SP. The pixel definition! The colors! Wild how much of an improvement it is.
Overall I'm super happy with how it turned out. It's still a Game Boy Advance, just with some upgrades that eliminate a lot of headaches (literal and metaphorical), while keeping it authentic to the original experience.
The whole process was surpisingly easy, and it's really empowering to have the tools and knowledge to execute a project like this. More to come.