Game Boy Advance SP Rebuild: Another Semi-Tutorial
- DATE
May 2026
My second foray into modding vintage electronics! The SP is my platonic ideal of a handheld: perfect form factor, A+ clicky buttons. The plan here is essentially the same as the GBA: add in a modern display and a new shell, while keeping as many original components as possible.
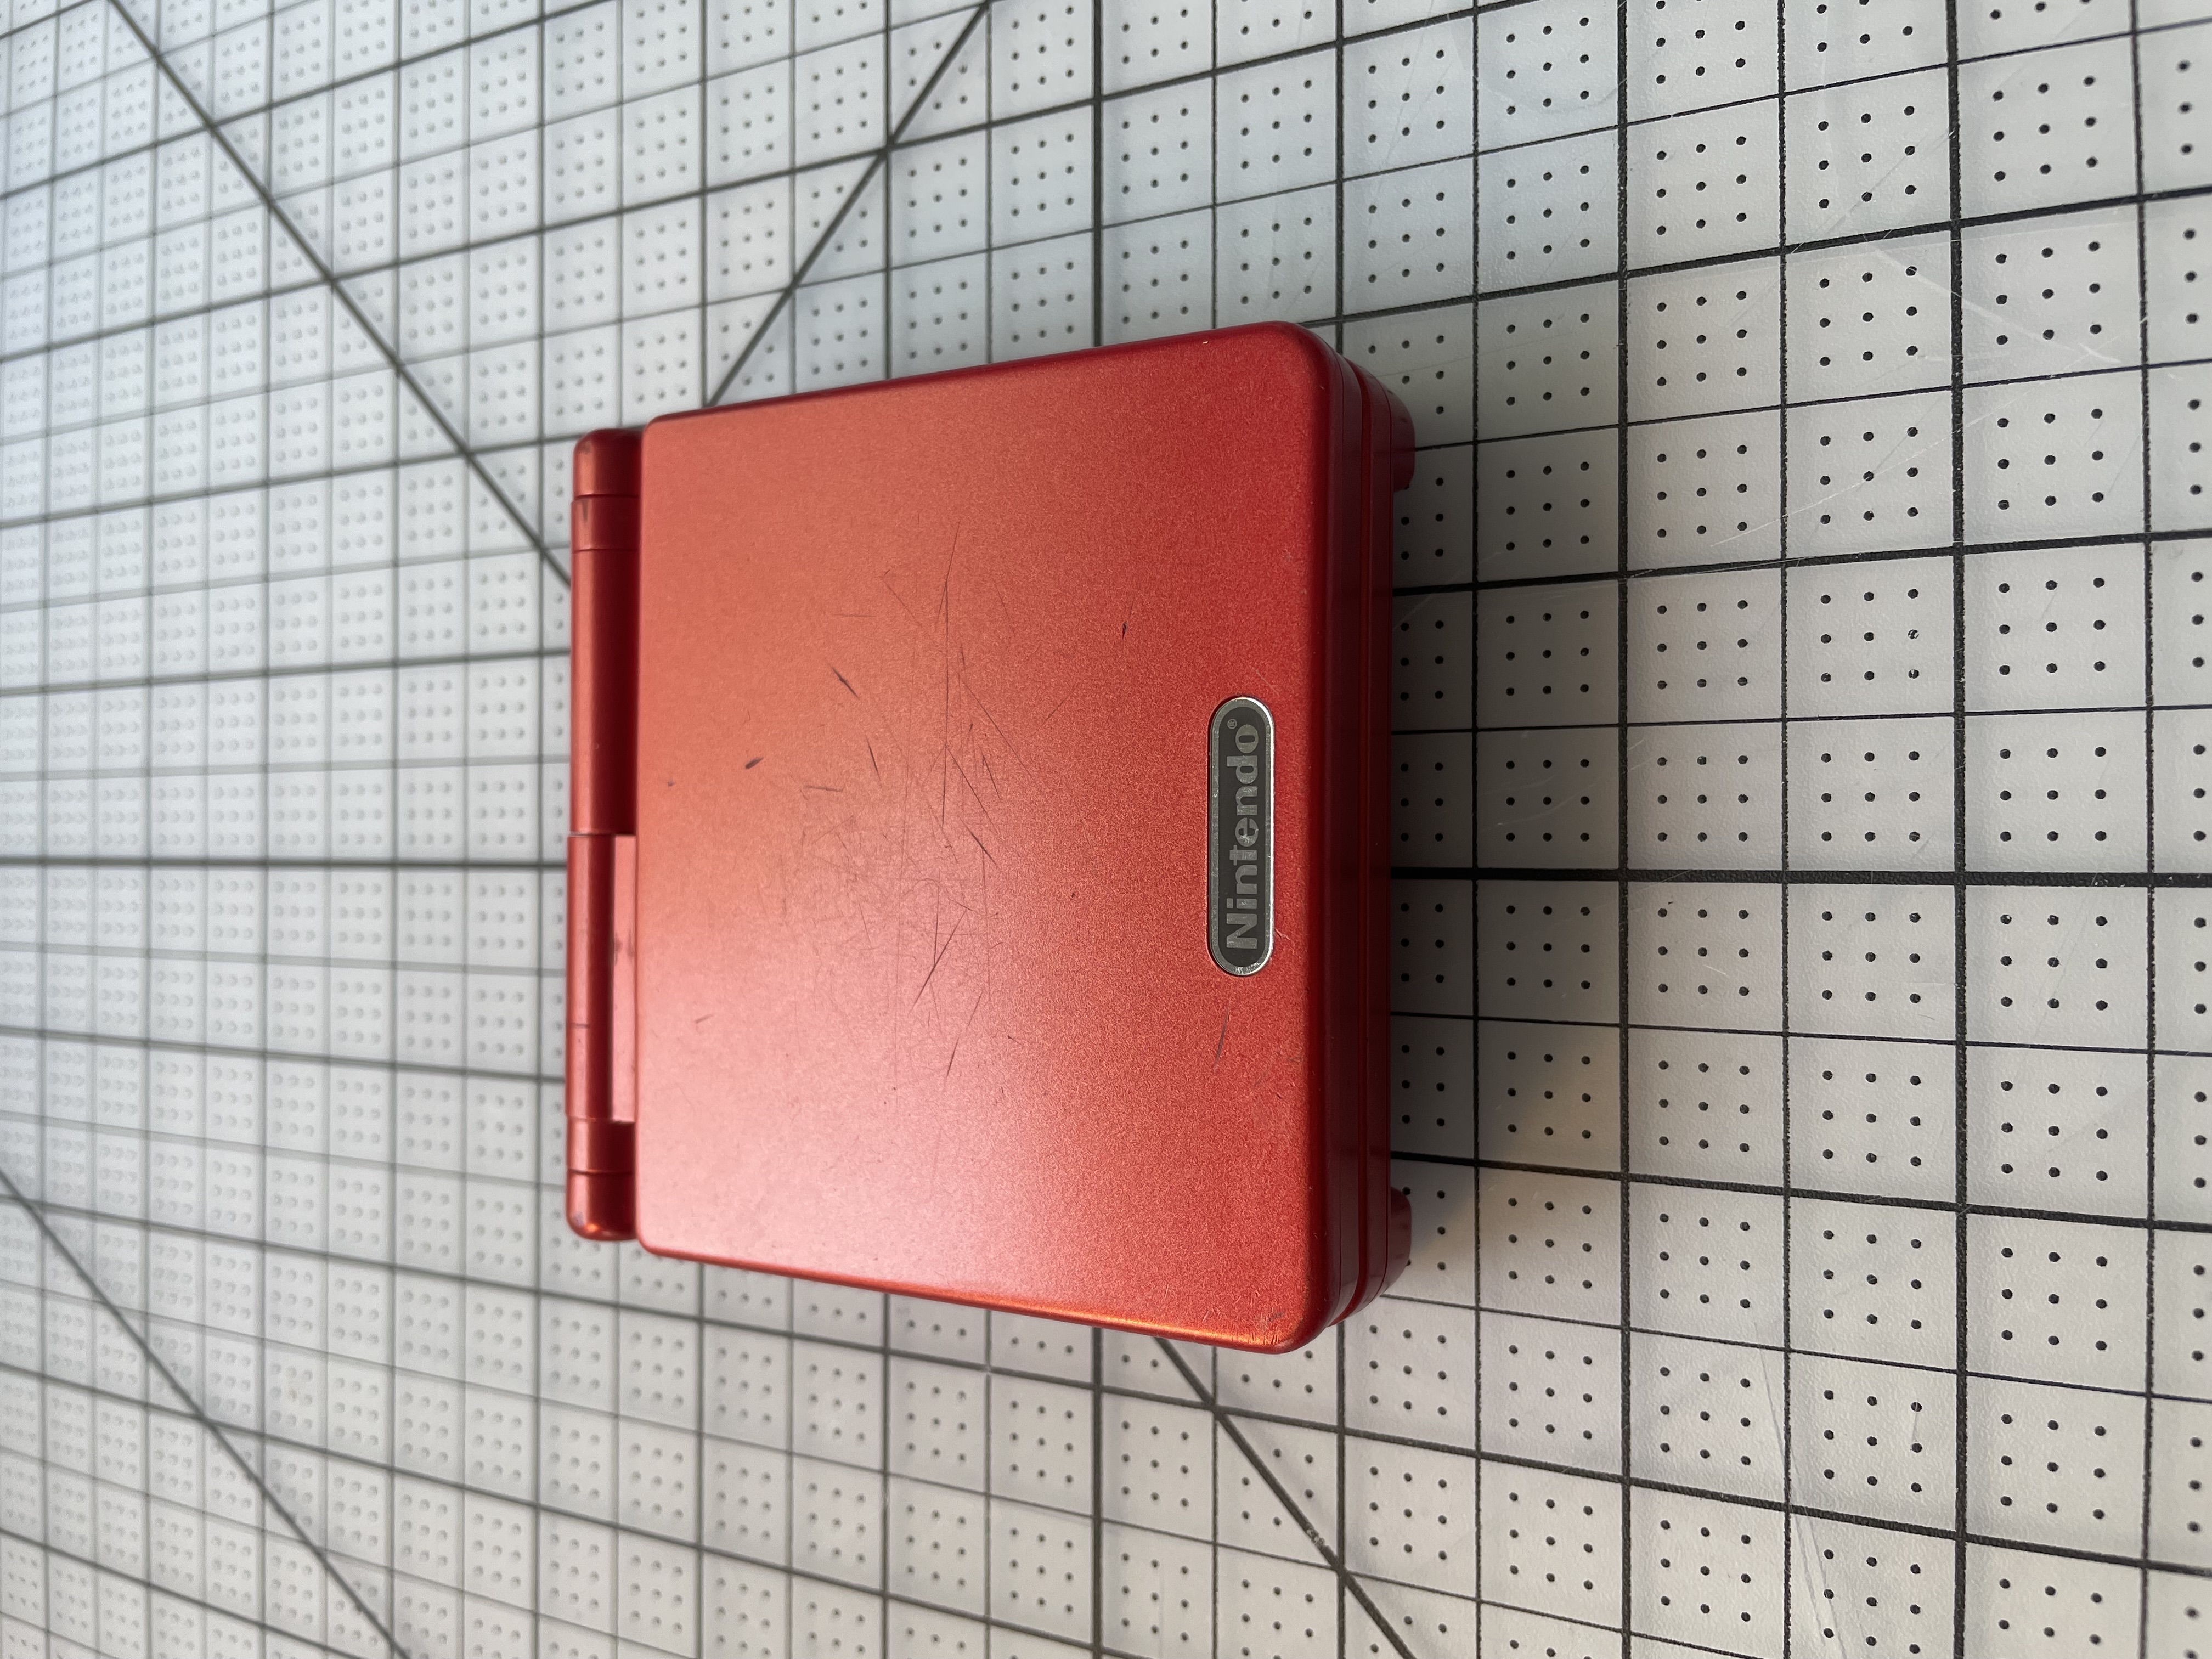
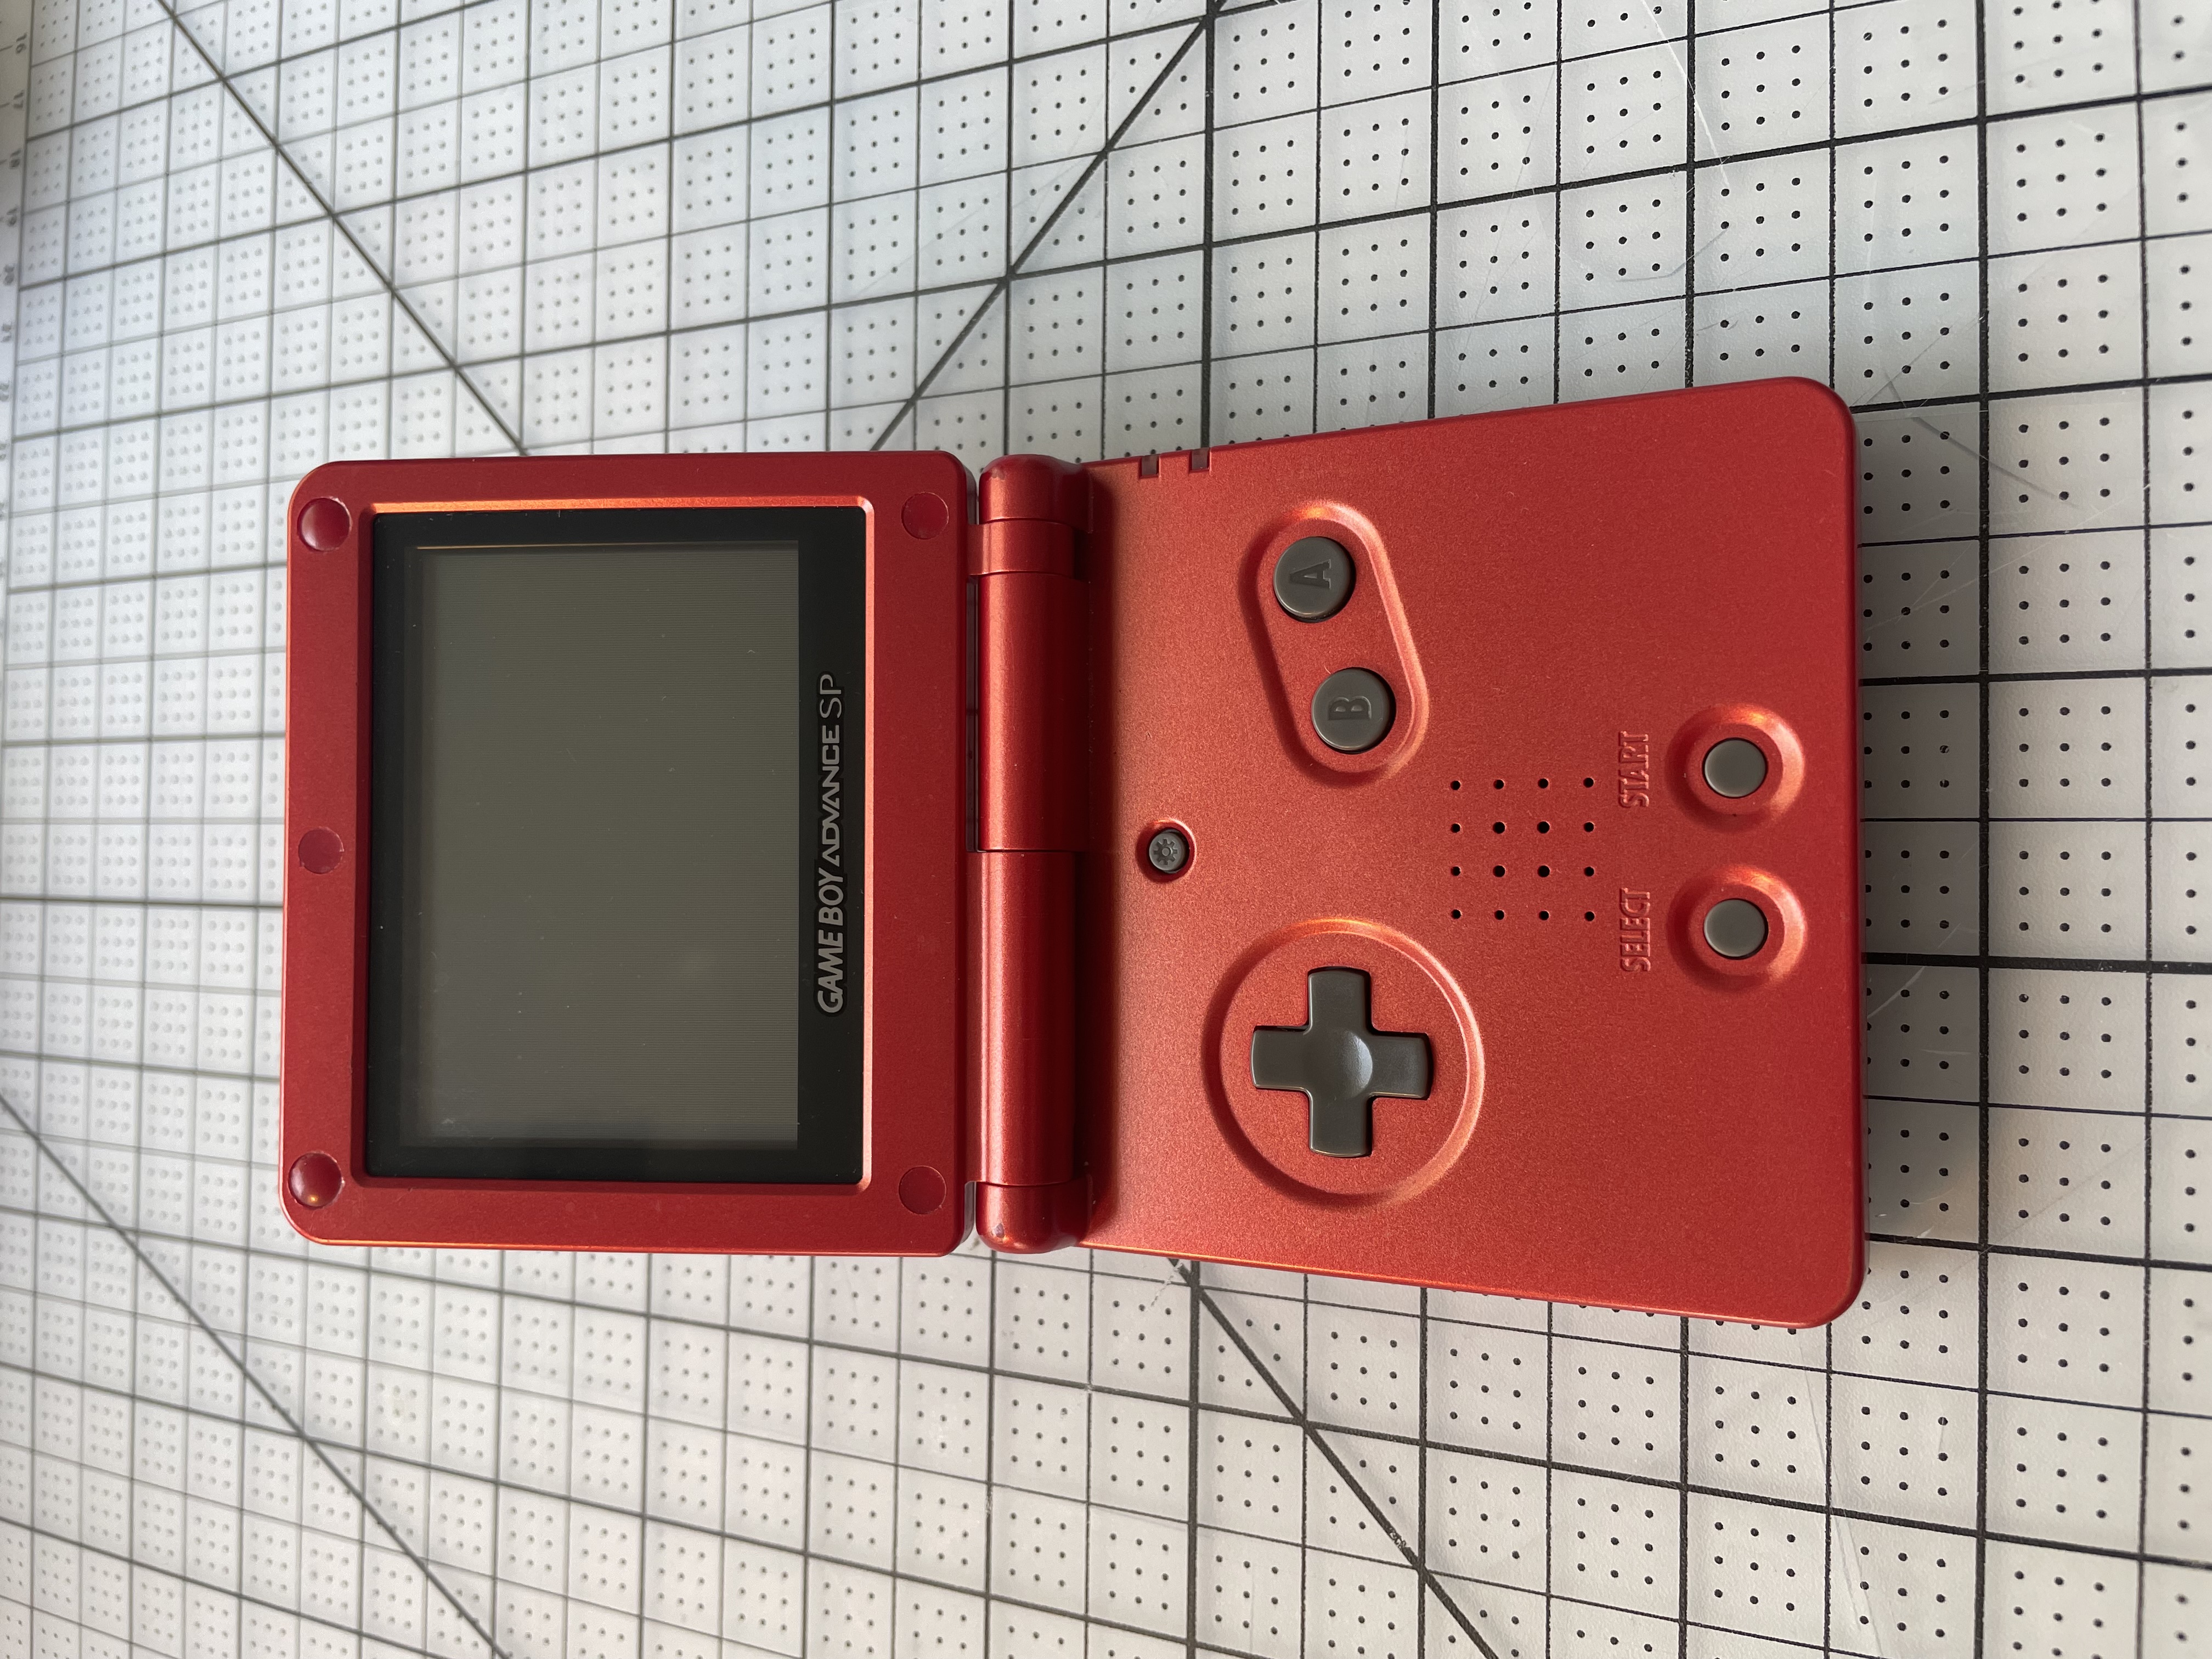
My own personal SP is still in great condition and I couldn't bring myself to chop it up, so I found a donor from Facebook Marketplace to sacrifice. It's an AGS-001 model with a frontlit screen, in Flame Red, the same exact model as mine.
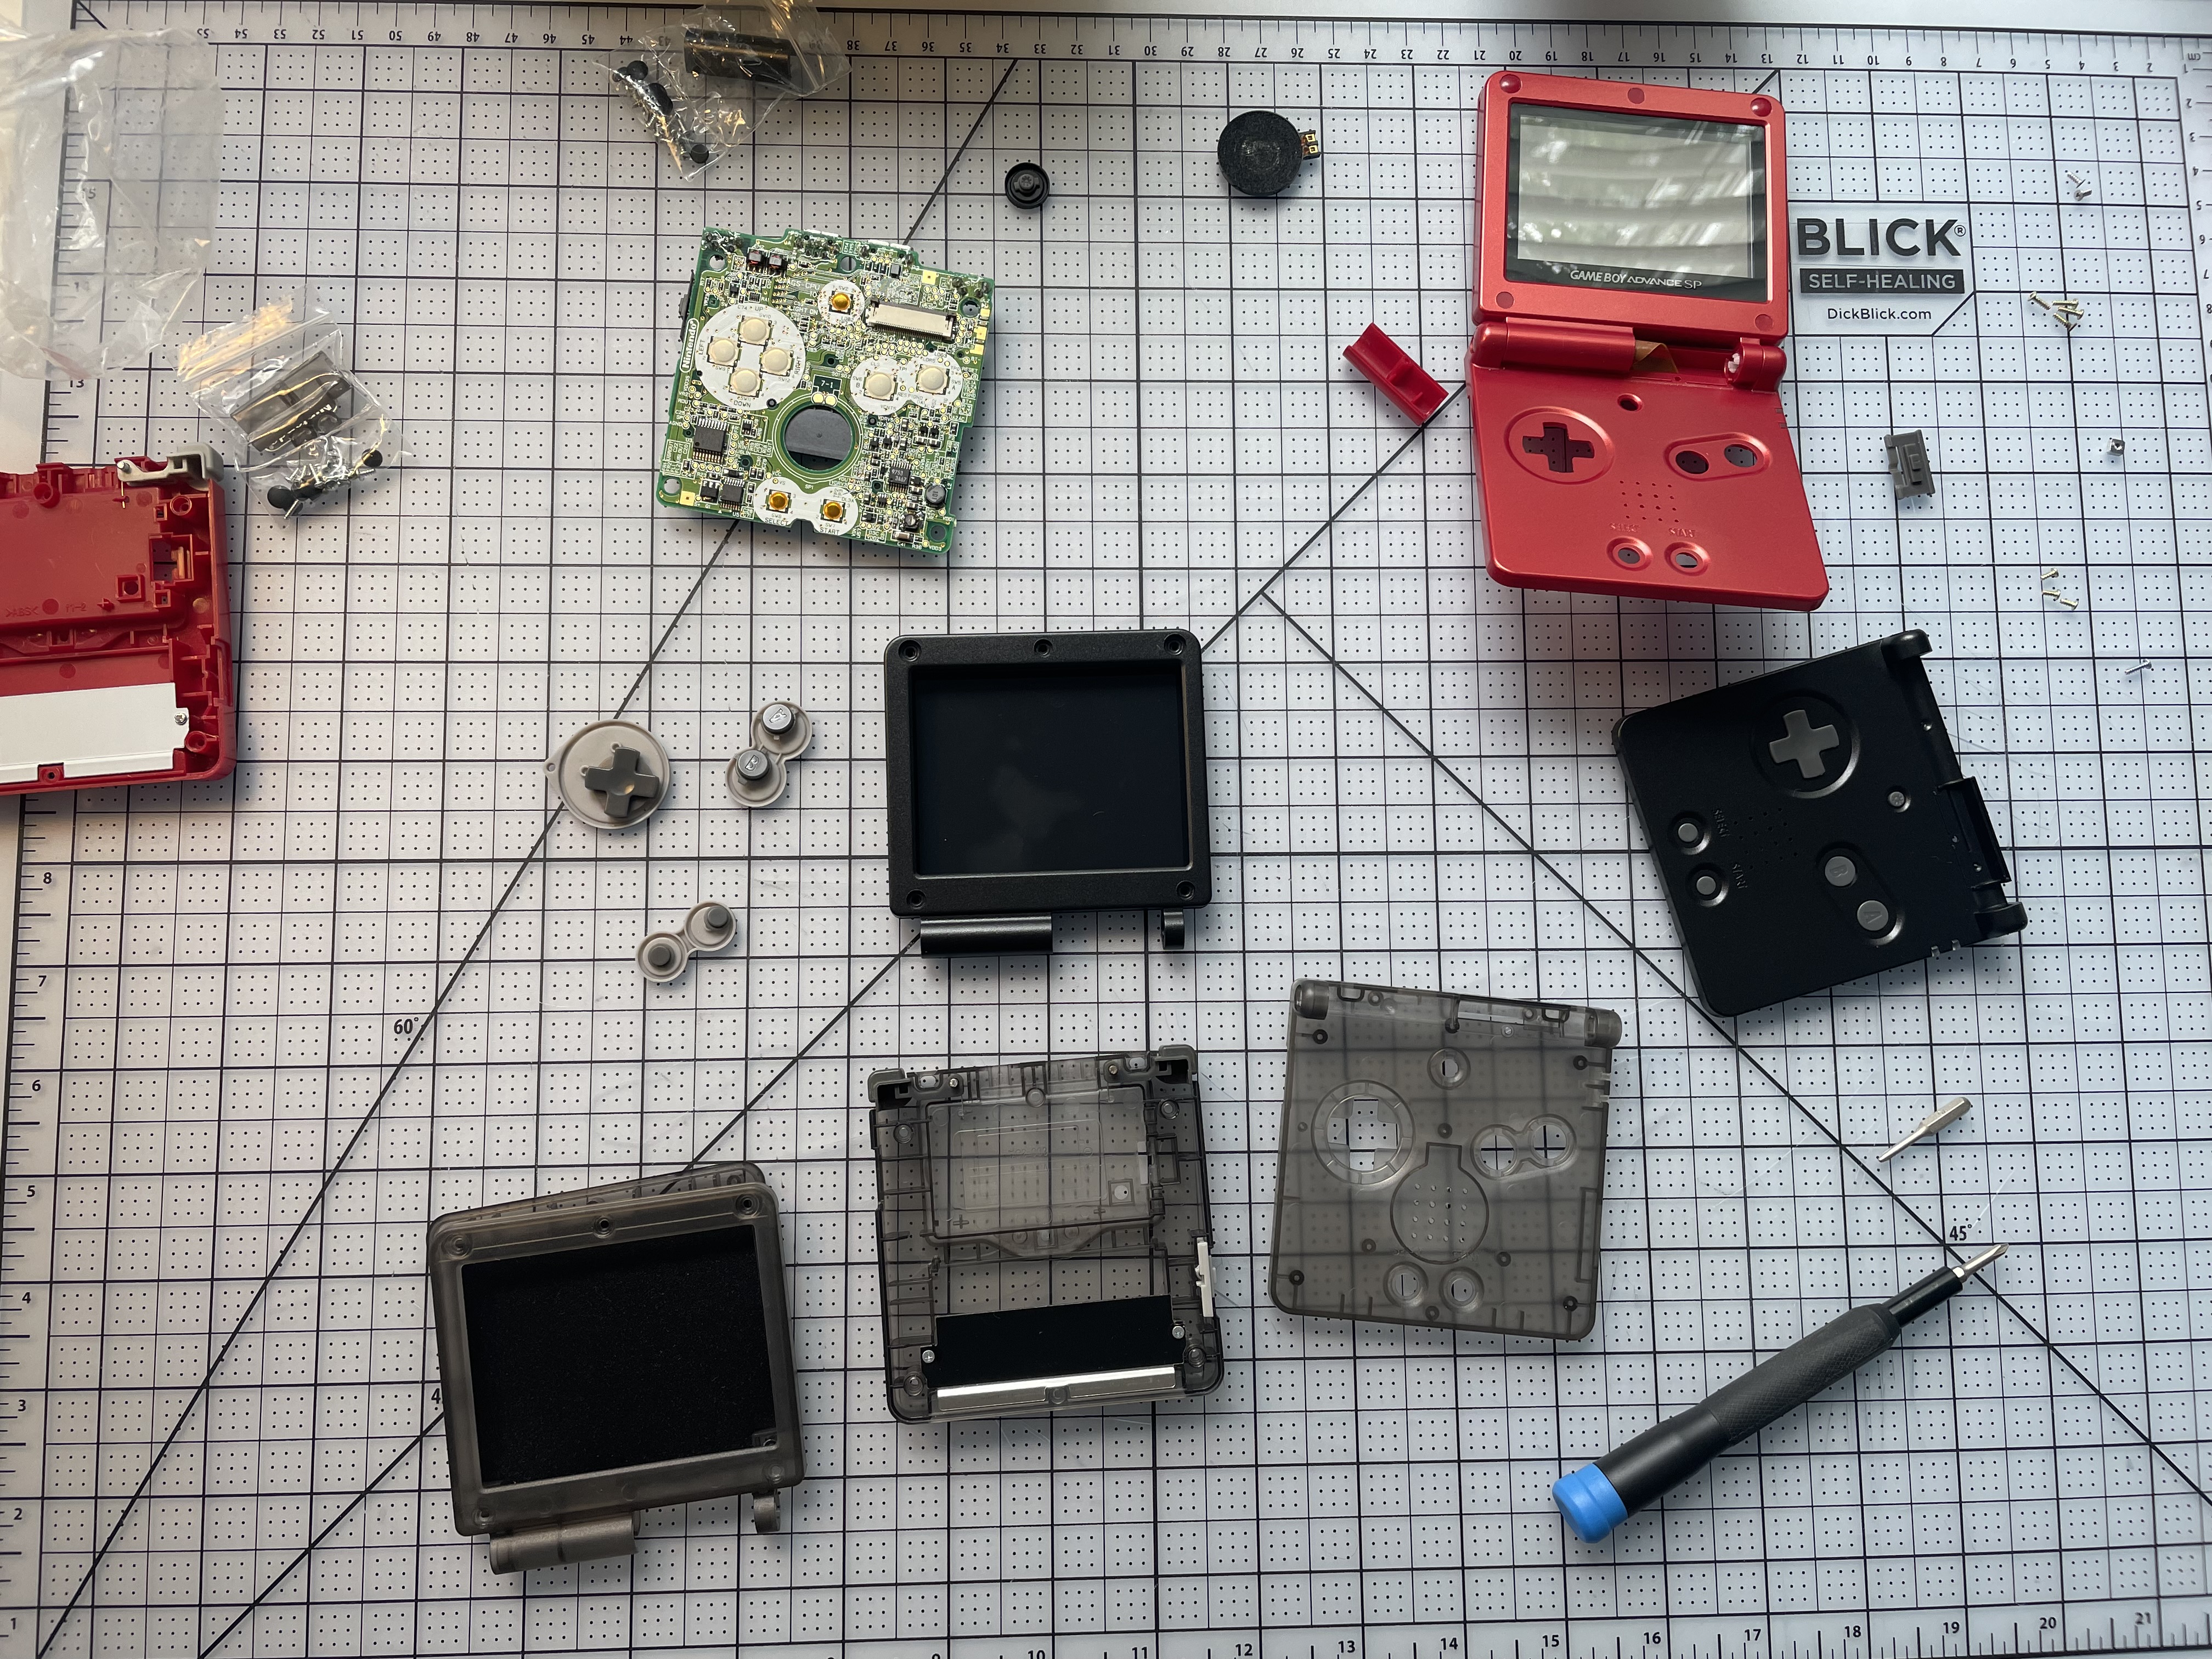
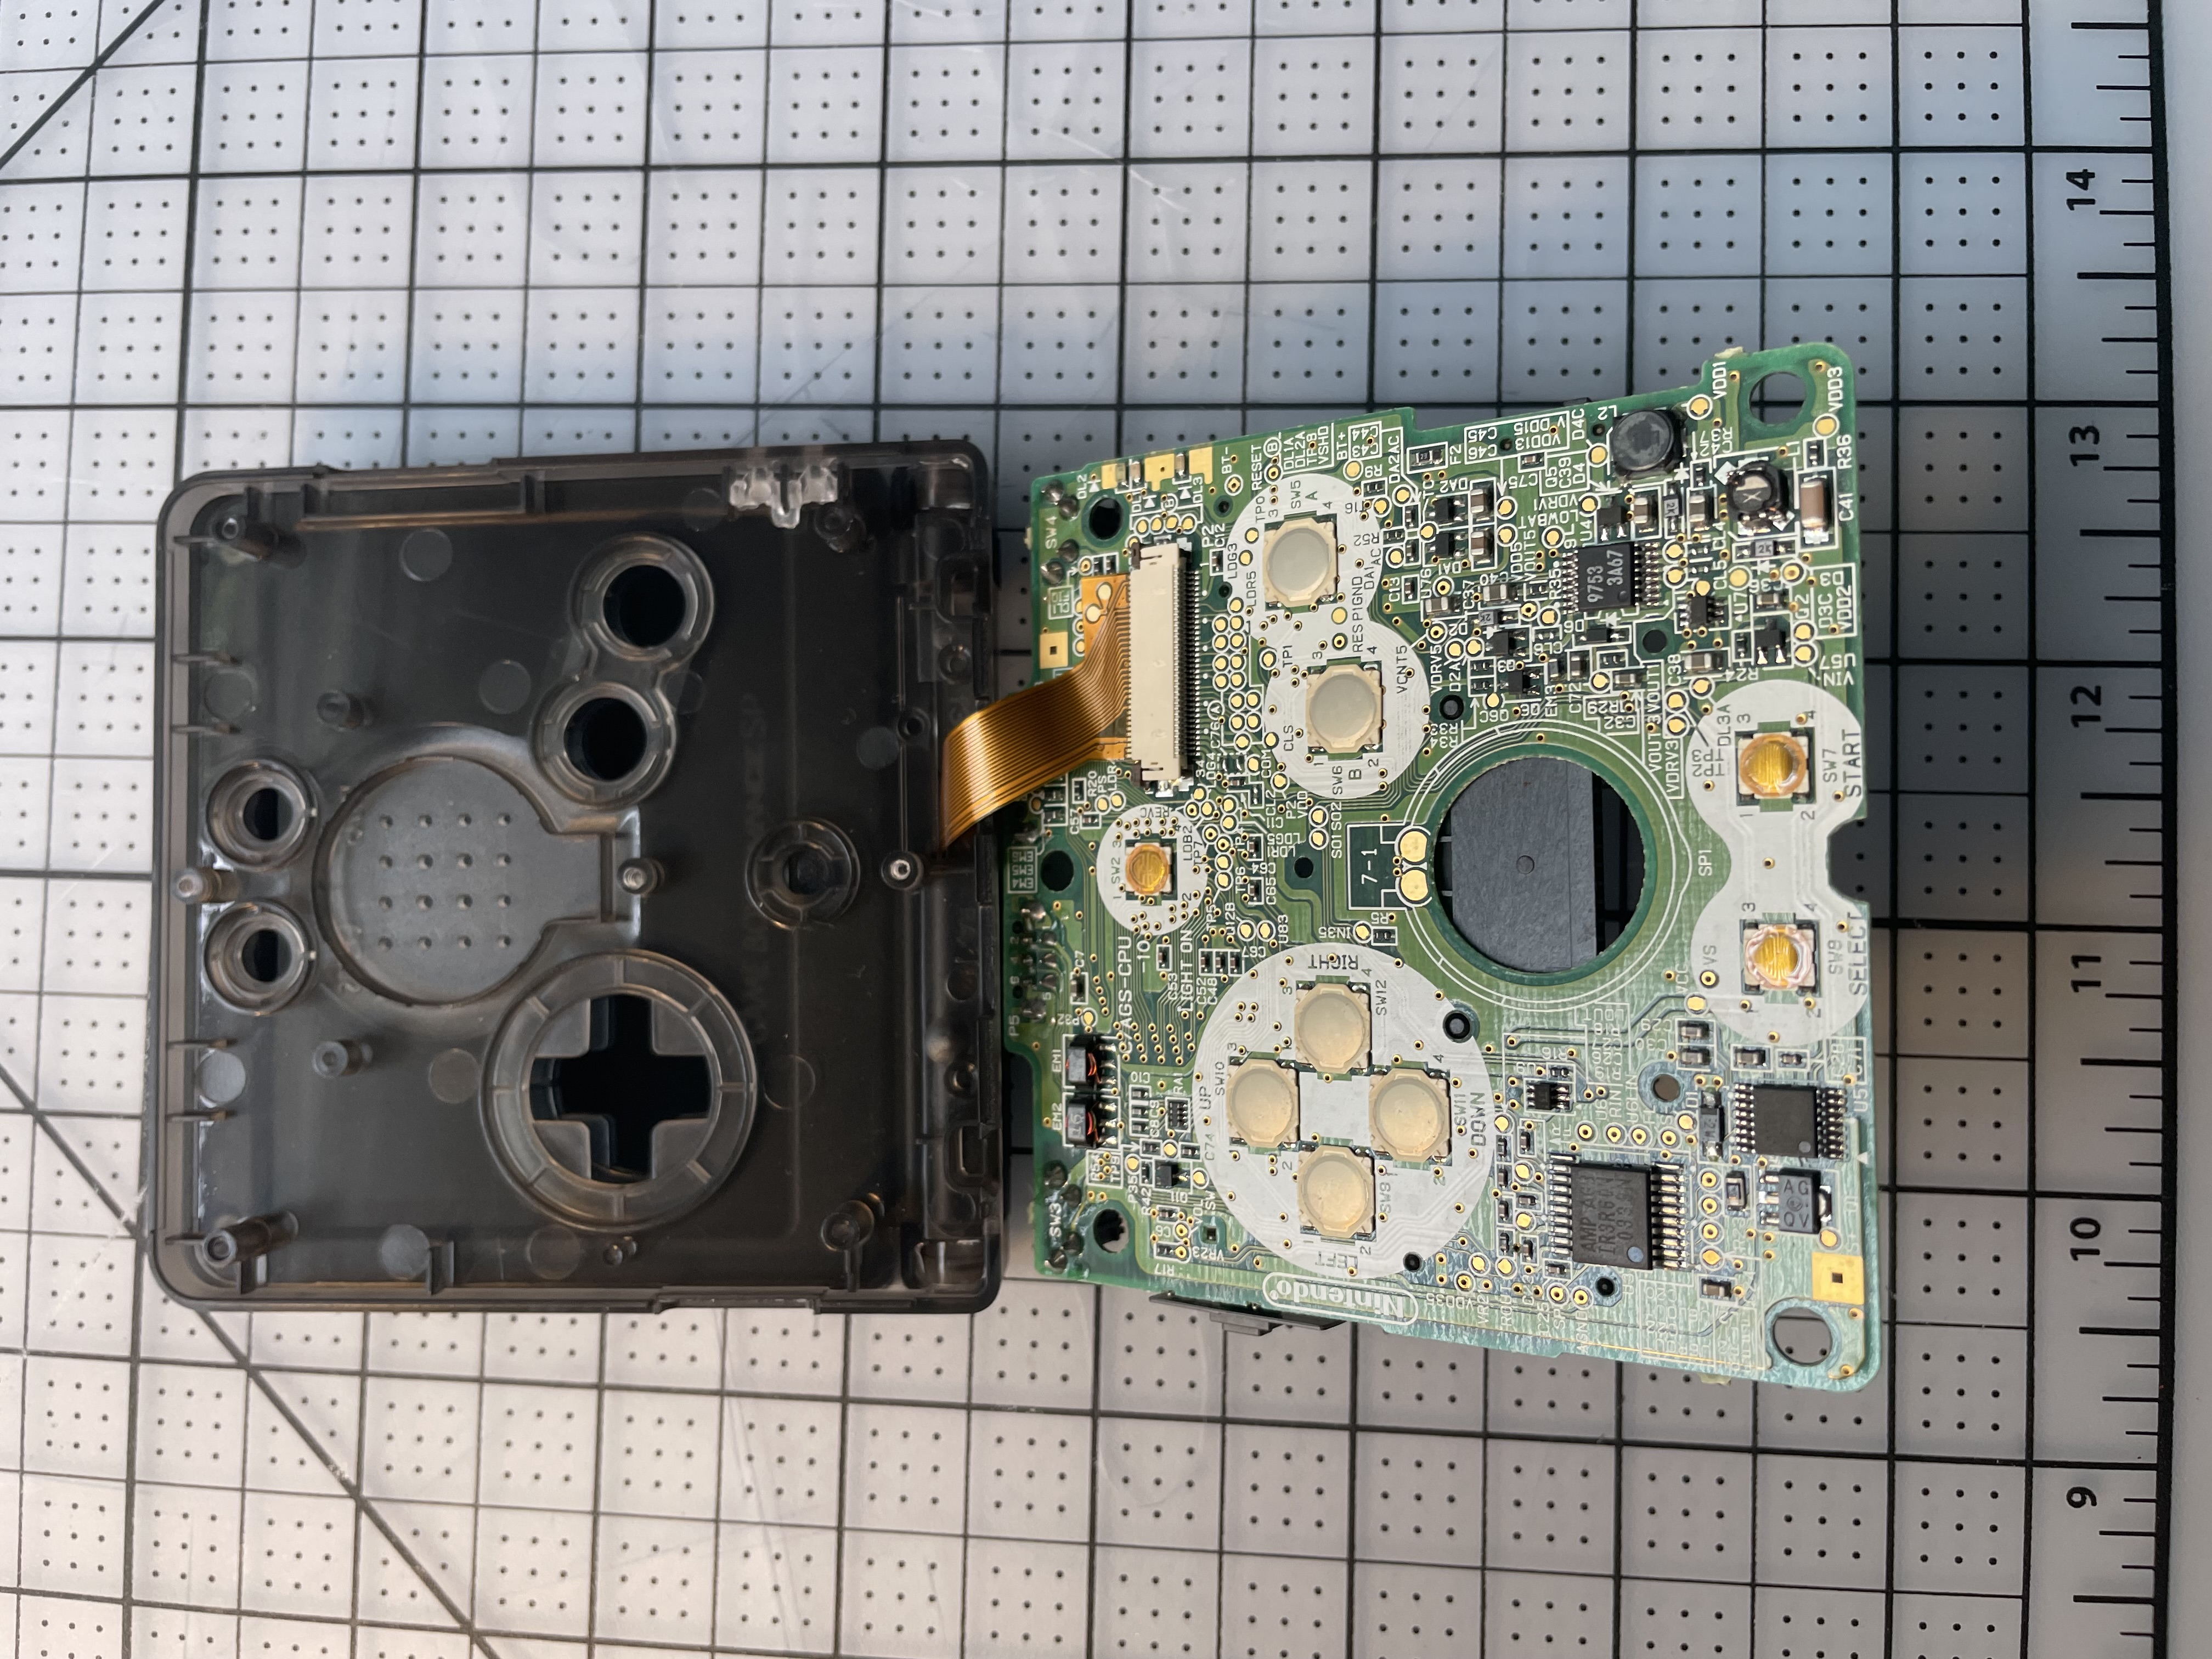
Teardown is a little more complicated and fiddly than a standard GBA. There are quite a few more screws to keep track of, and you have to disassemble the hinges.
Shell-wise I wasn't exactly sure if I wanted to do translucent black or solid black, so I got both and played around with mixing and matching.
Ok yes, I spent a lot of words waxing poetic about the *pixel authenticity* of ITA screens like the one I installed on my modded GBA, but I decided to go with a modern IPS display here for a few reasons. First, at time of writing, there's only one ITA kit currently available for the SP, and the screen assembly requires a specific modified shell to fit properly. And unfortunately, I kind of hate how these shells look - they're glossy, not matte, and reports indicate the plastic isn't great quality.
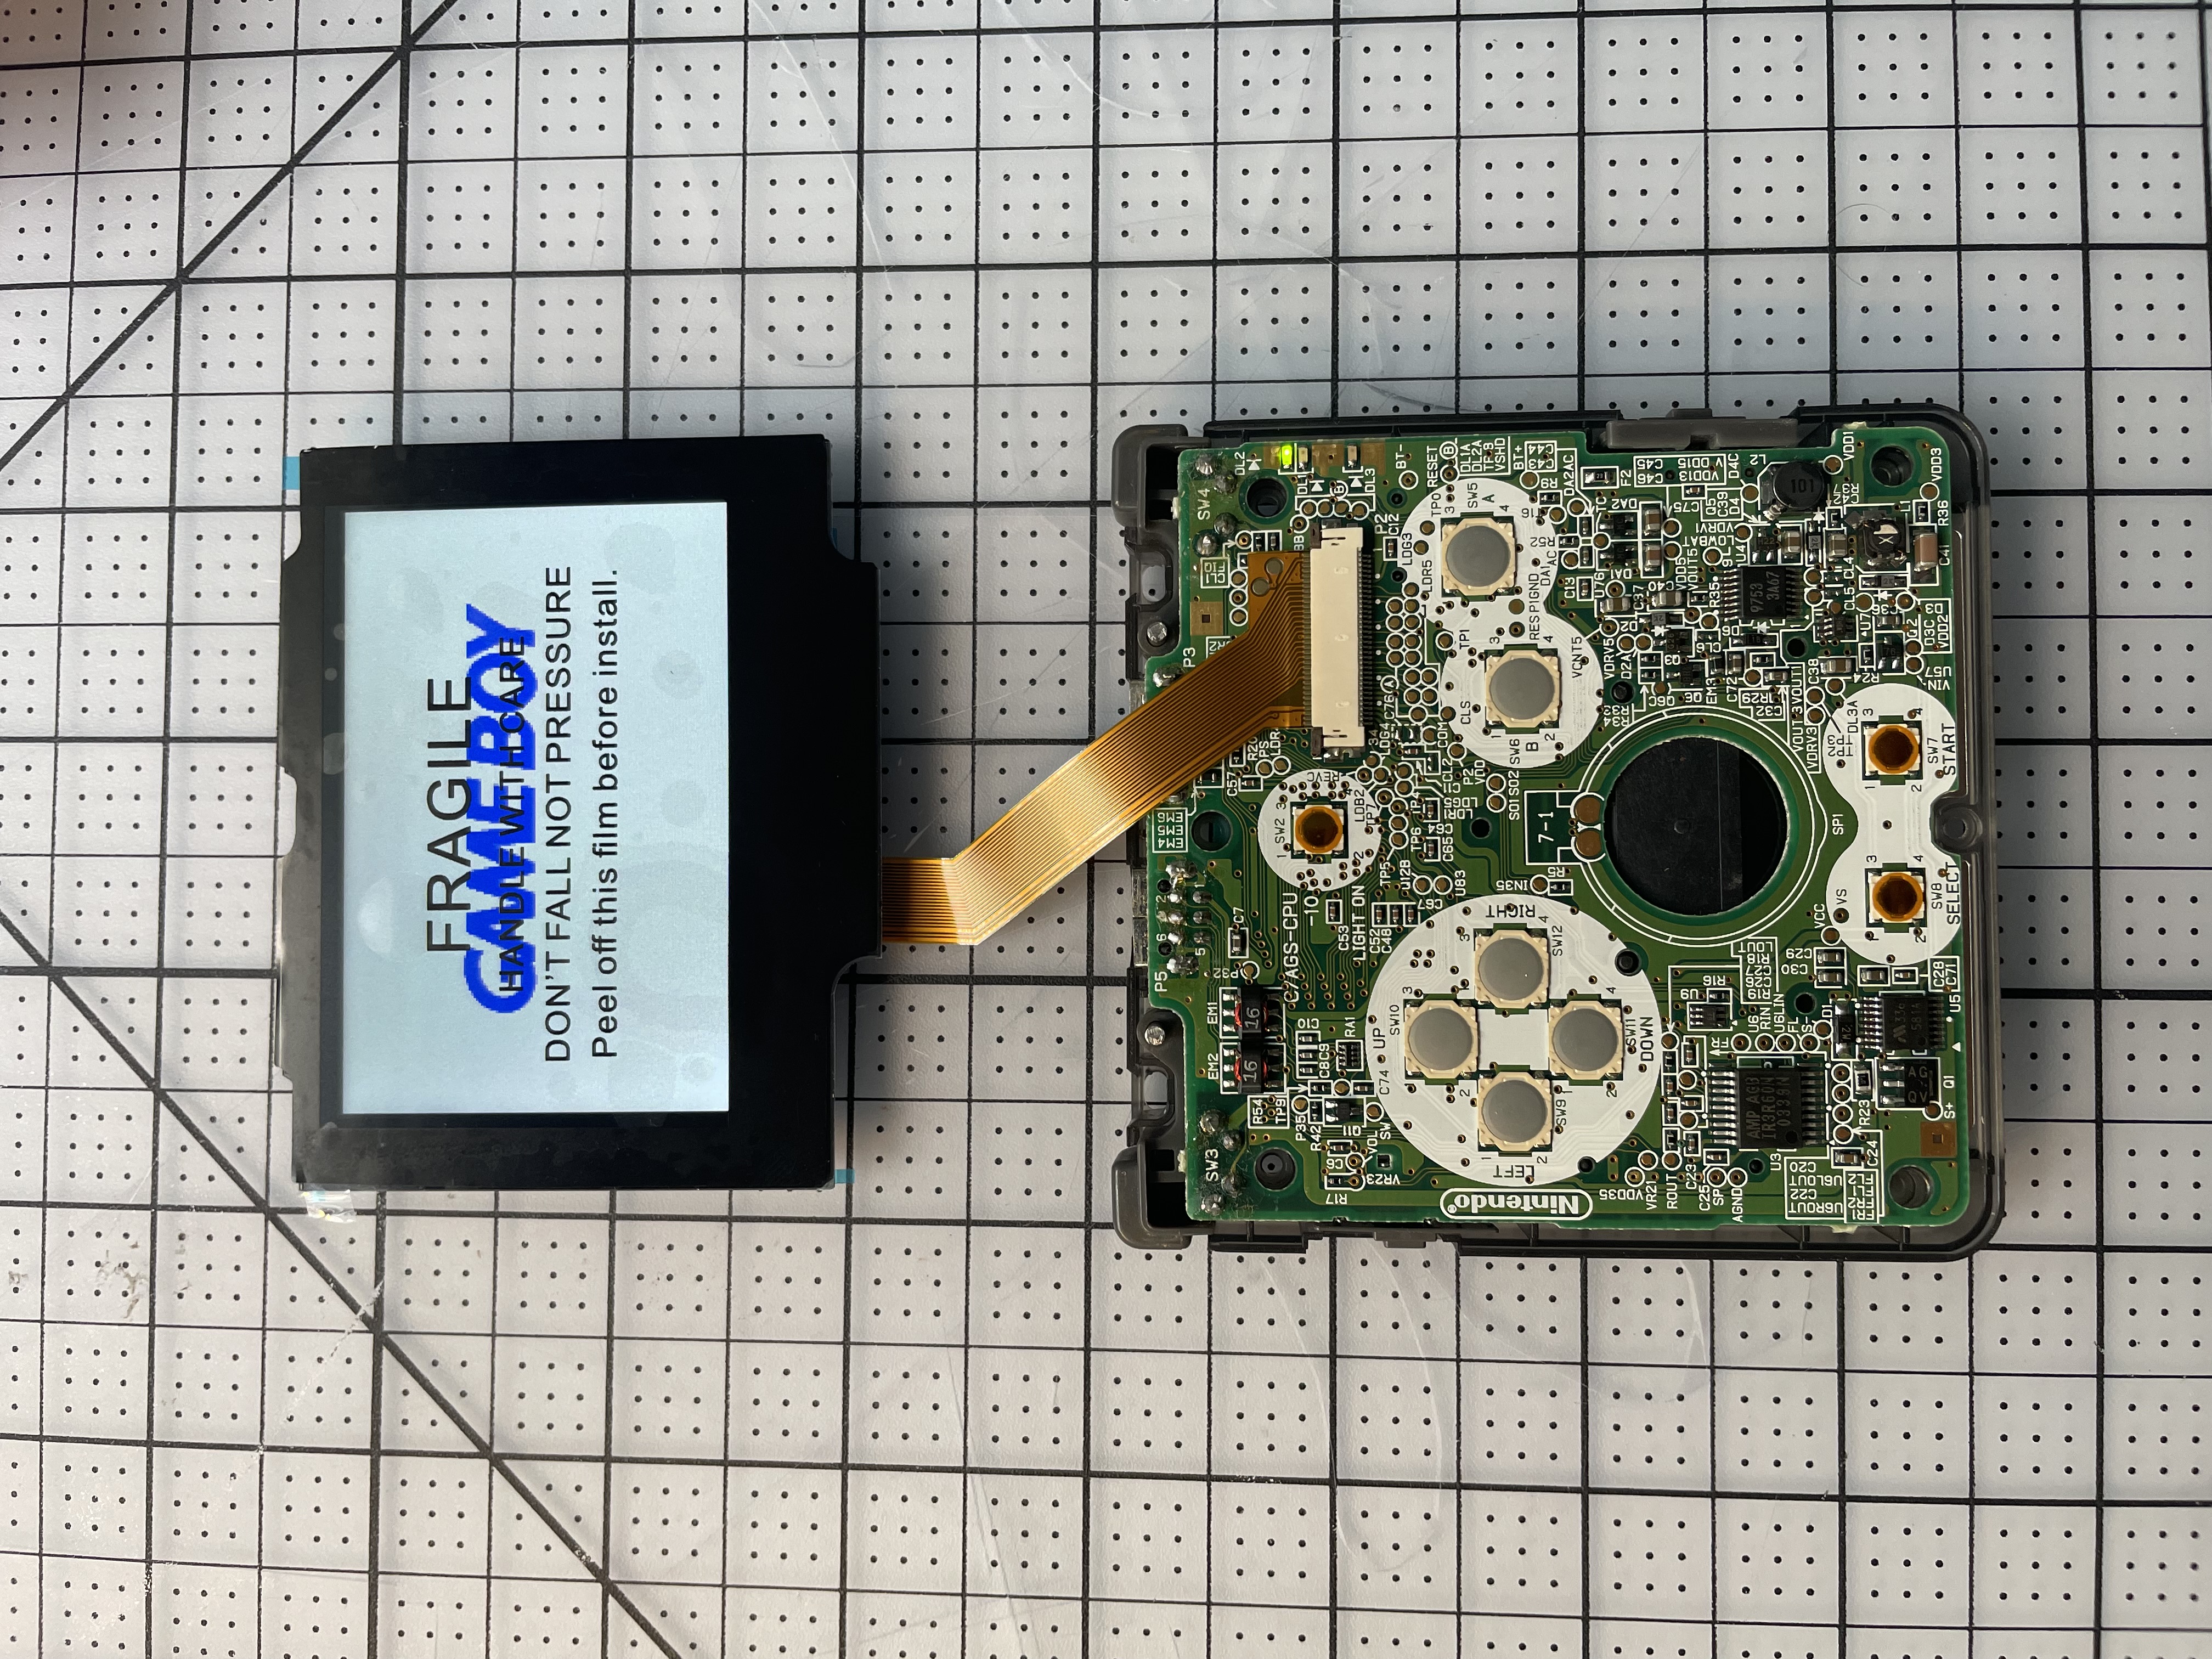
Second, the number and quality of IPS kits has increased dramatically since I modded my GBA three years ago. Most of the popular screen mod kits these days are prelaminated to the external display lens, meaning you can just drop the entire screen assembly into the shell without worrying about taping or alignment or getting dust trapped between the screen and the lens. I picked the V5 IPS kit from Hispeedido.
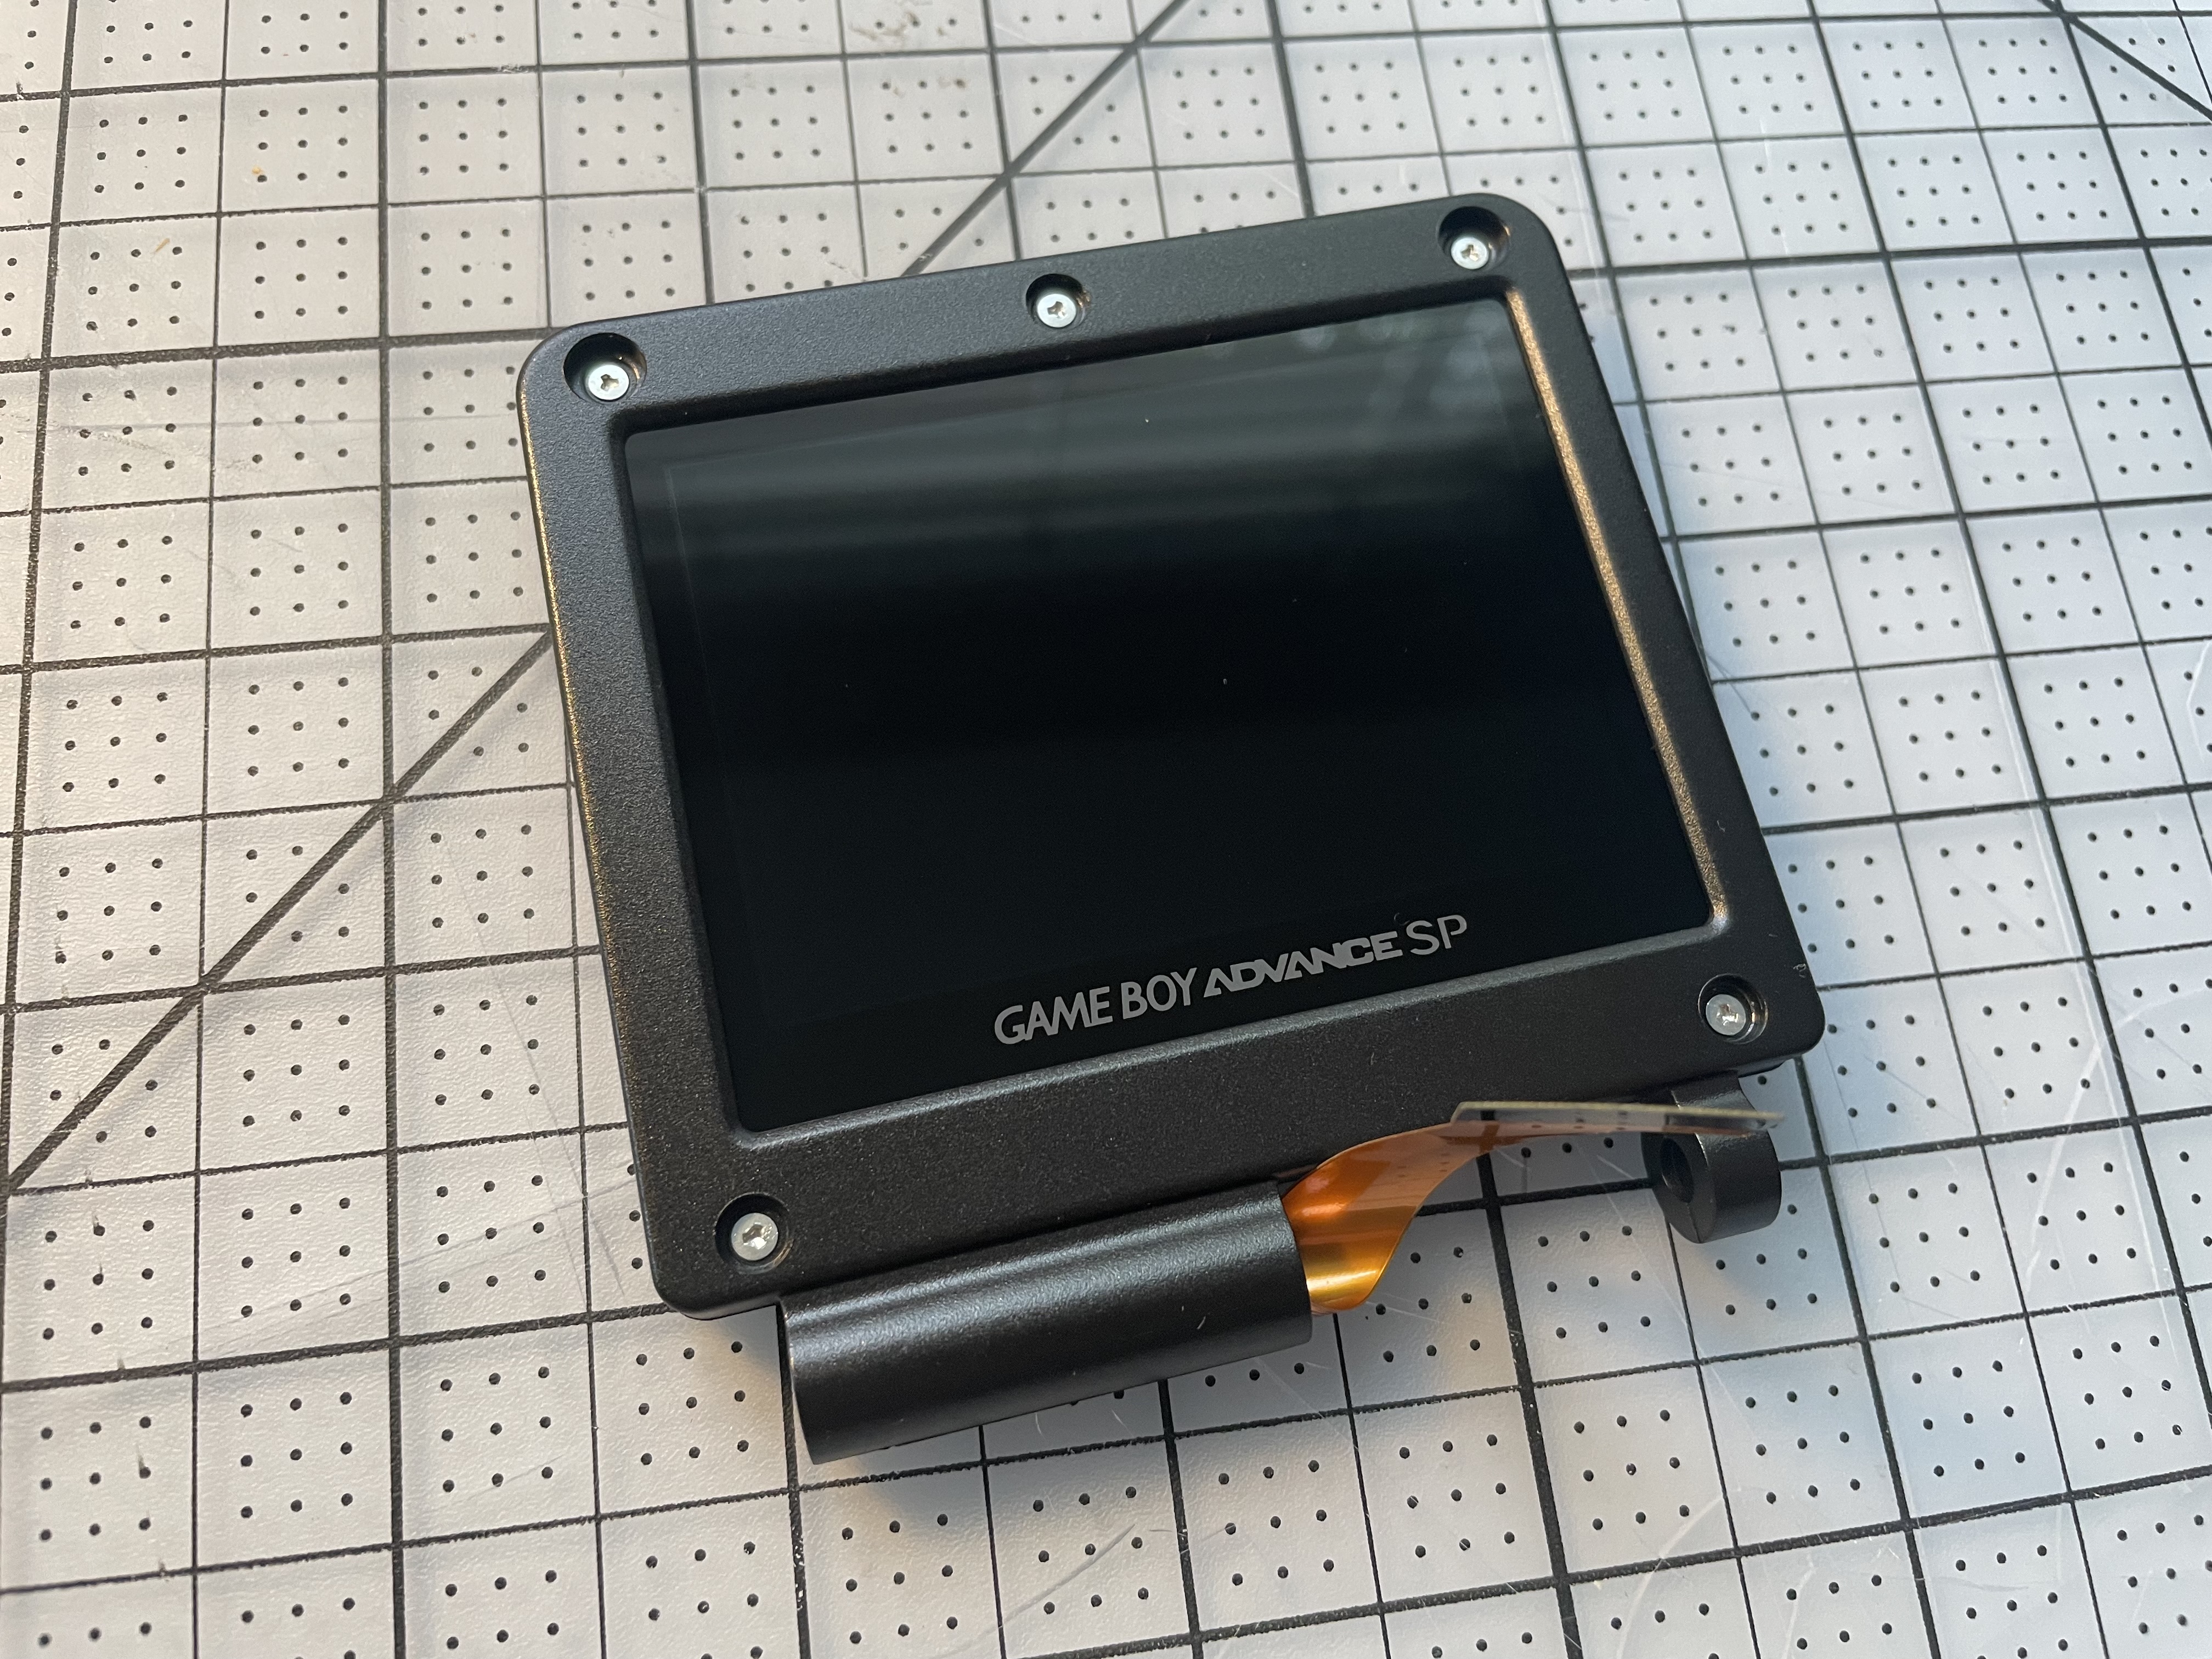
The new IPS screen fits snugly in the new screen housing. The ribbon cable feeds through the bottom, then gets coiled around once. (Honestly not sure why there's this much extra slack.)
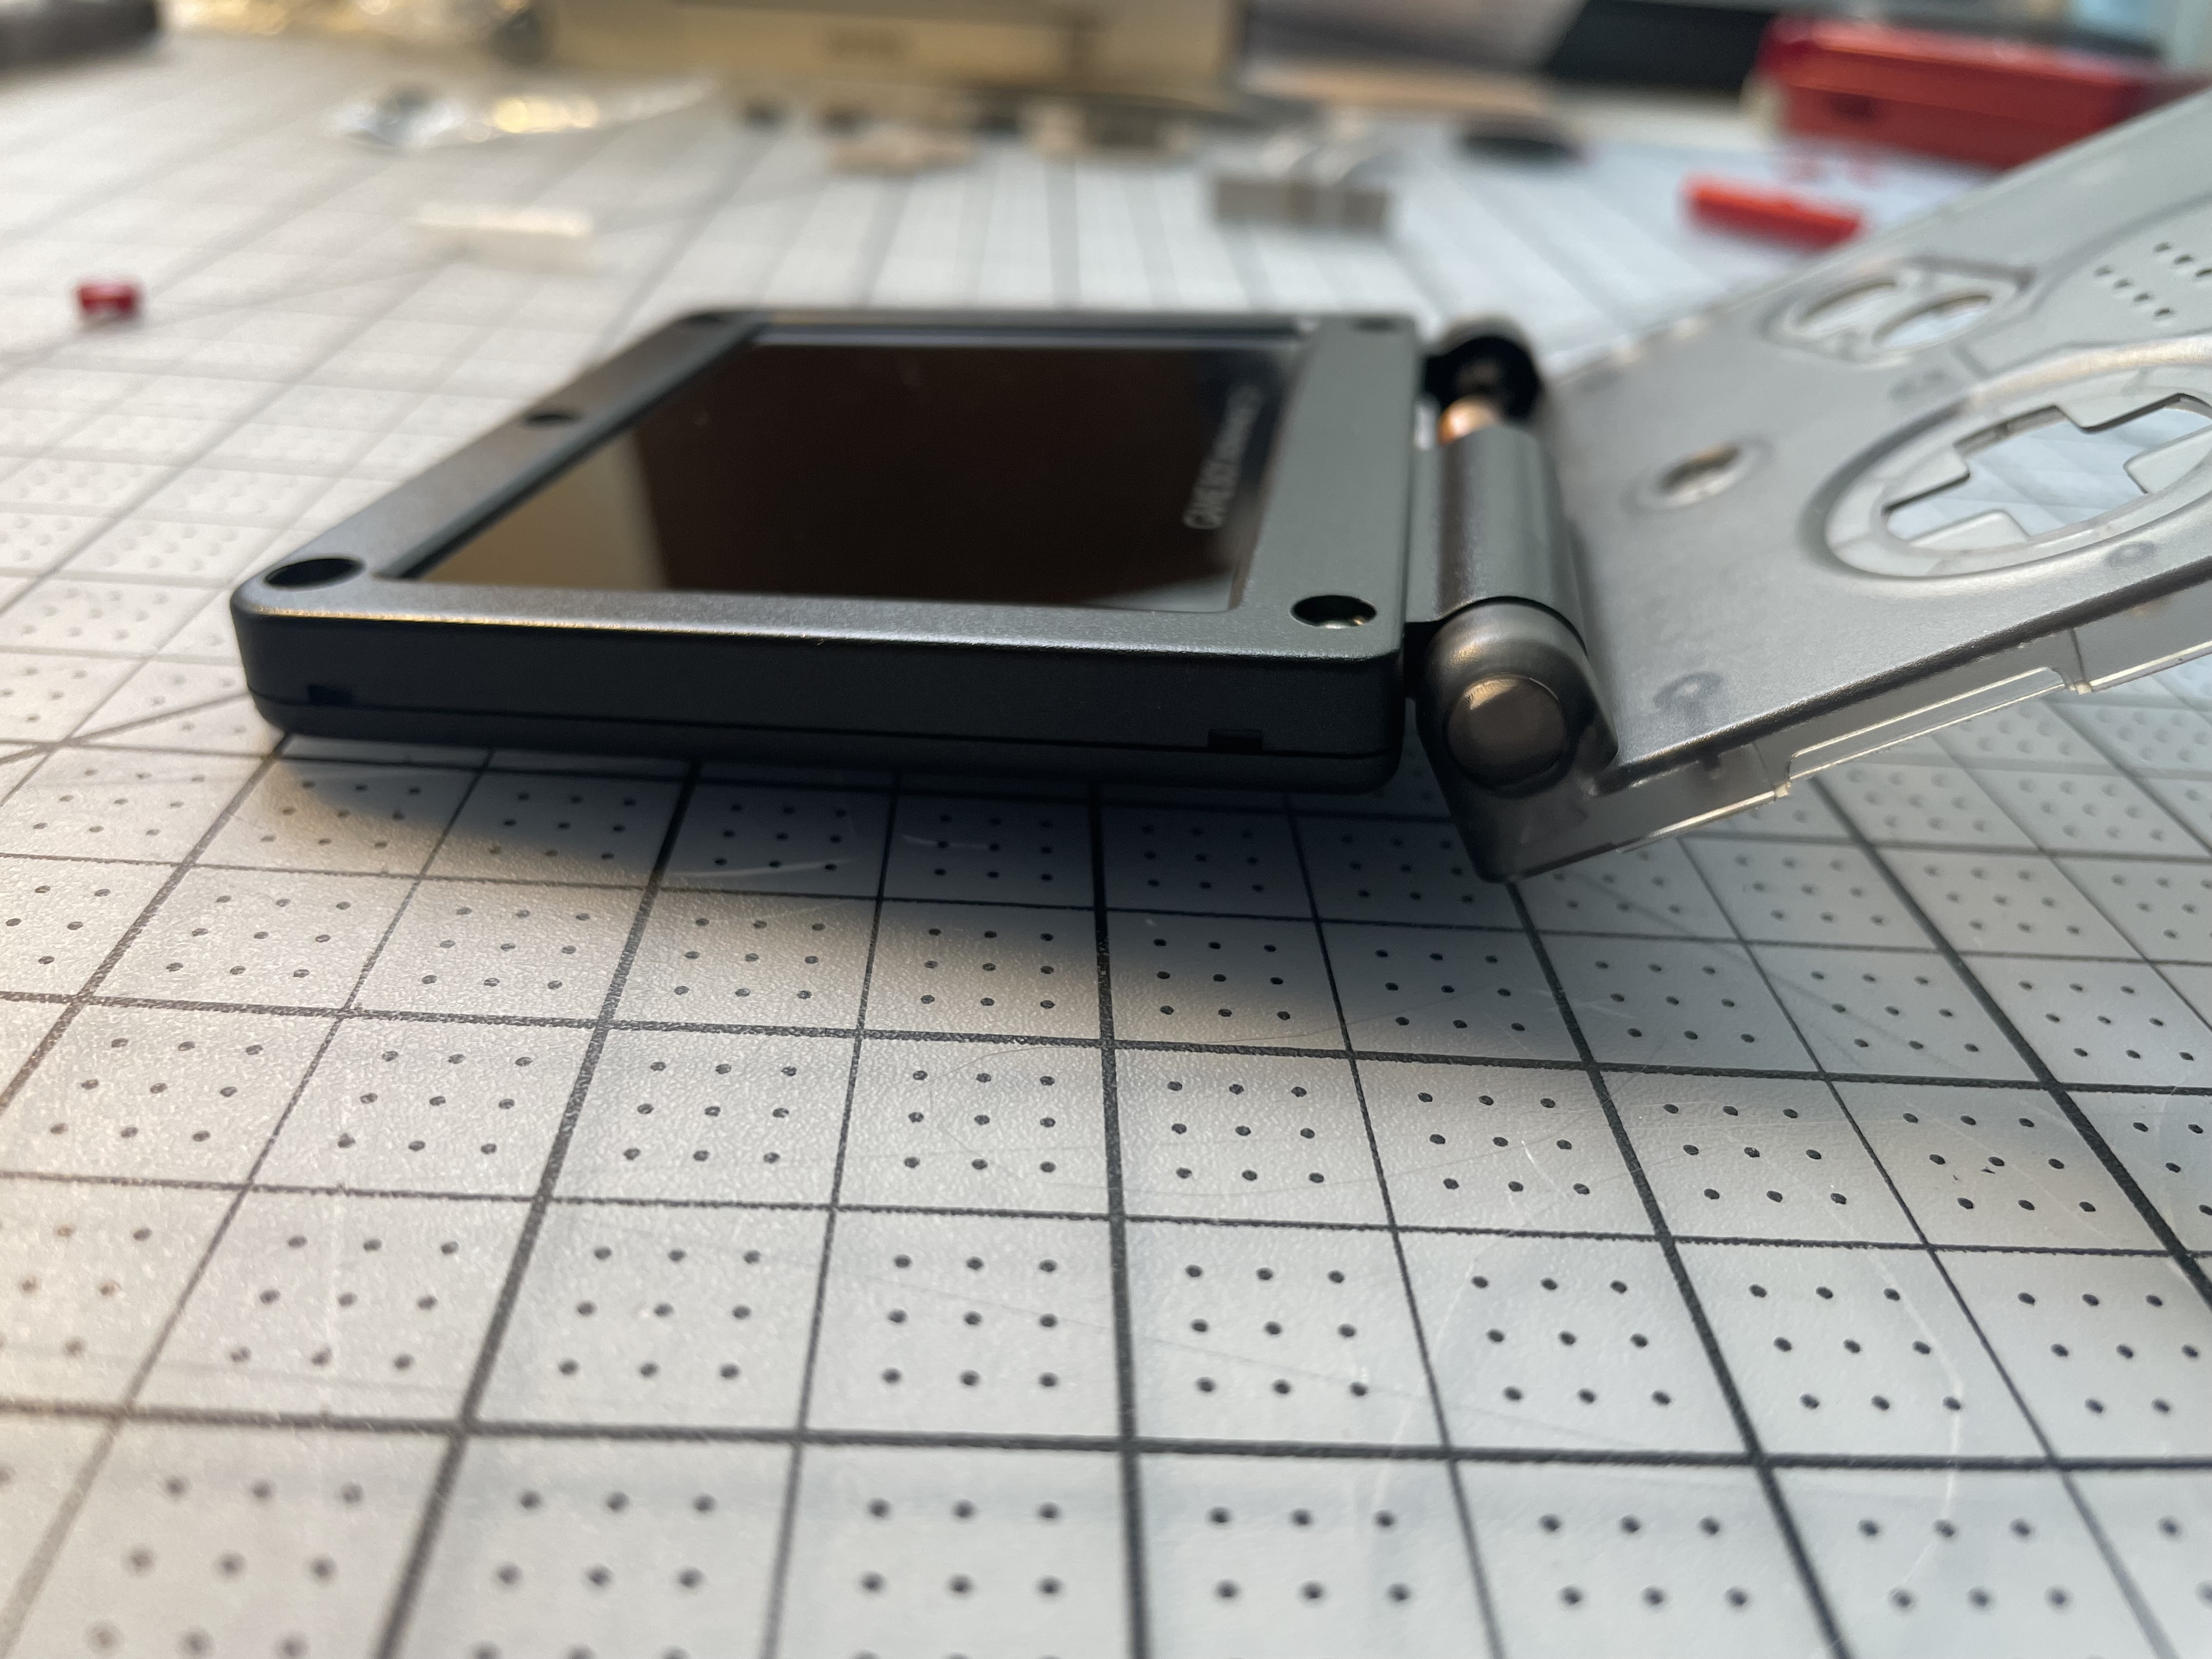
Reinsert the hinges and reattach the bottom face plate. Feed the ribbon cable into a slot in the face plate, and connect it to the motherboard.
This screen can technically be installed drop-in, but works much better by soldering a wire to connect to the built-in brightness button. Press it to cycle through brightness levels. Hold it down to go into the on-screen menu to tweak saturation, color palettes, and scanlines. (I didn't get a picture in-progress, but you can see the red wire above the A/B buttons through the shell.)
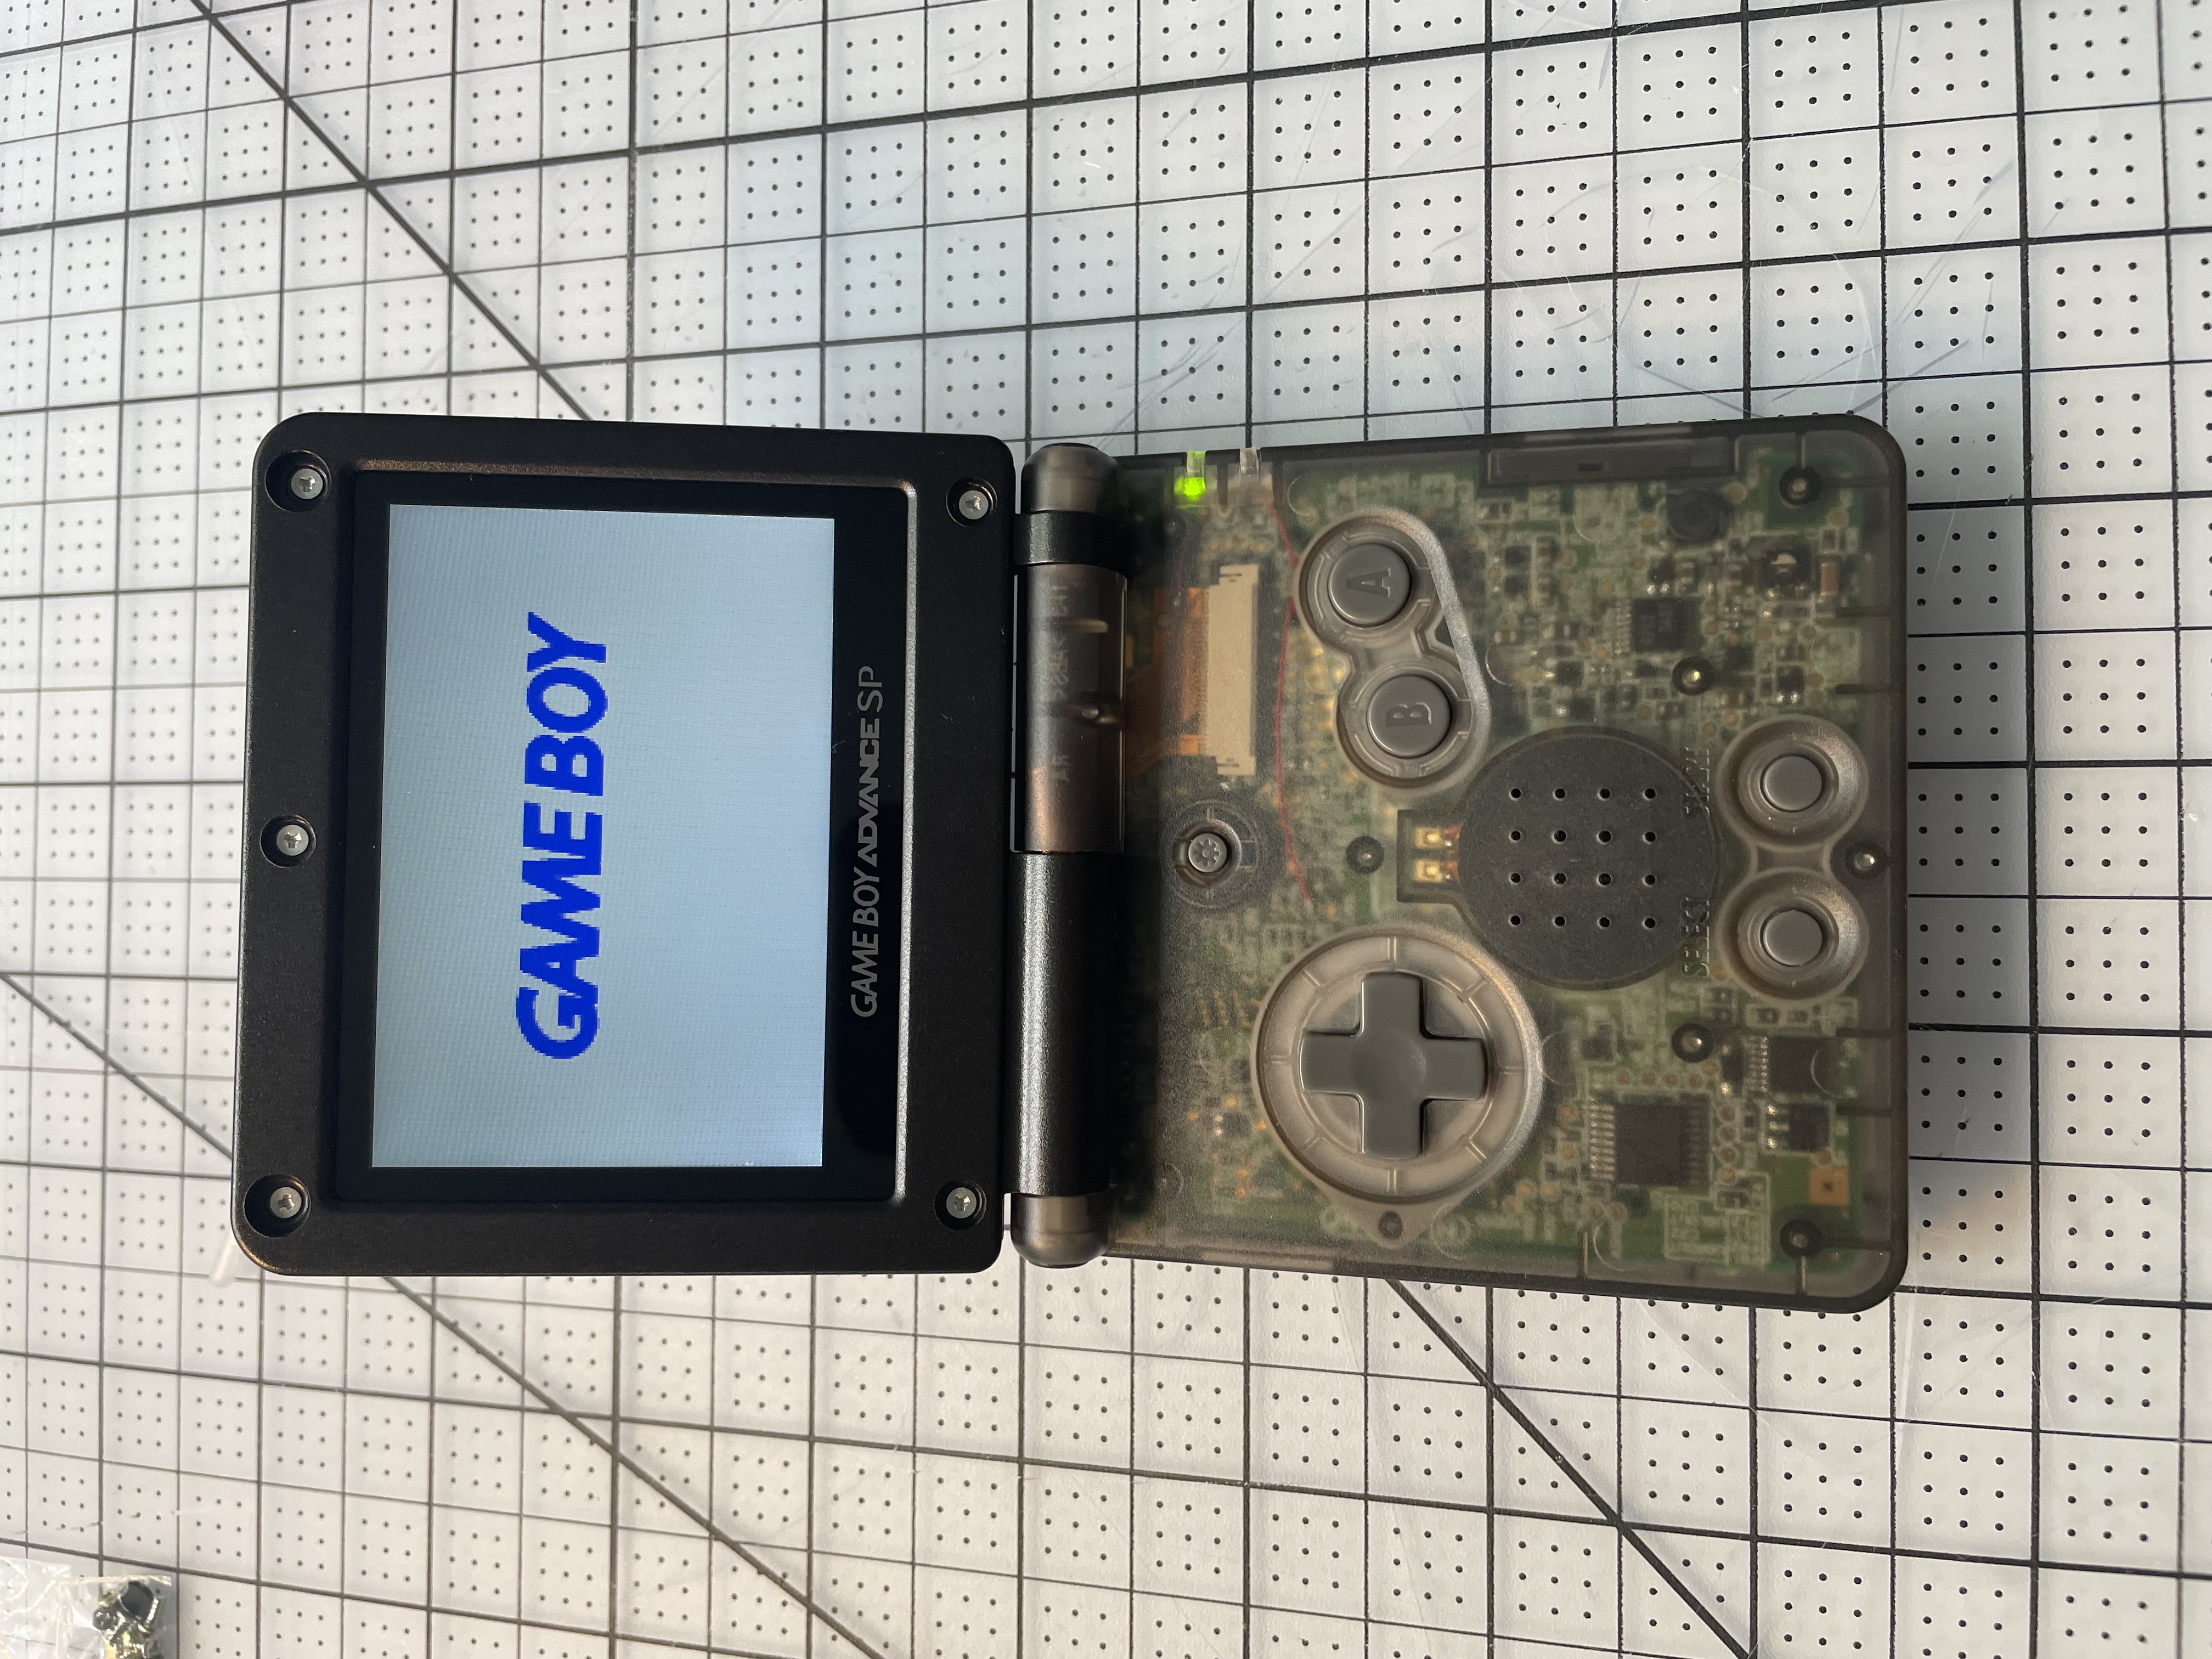
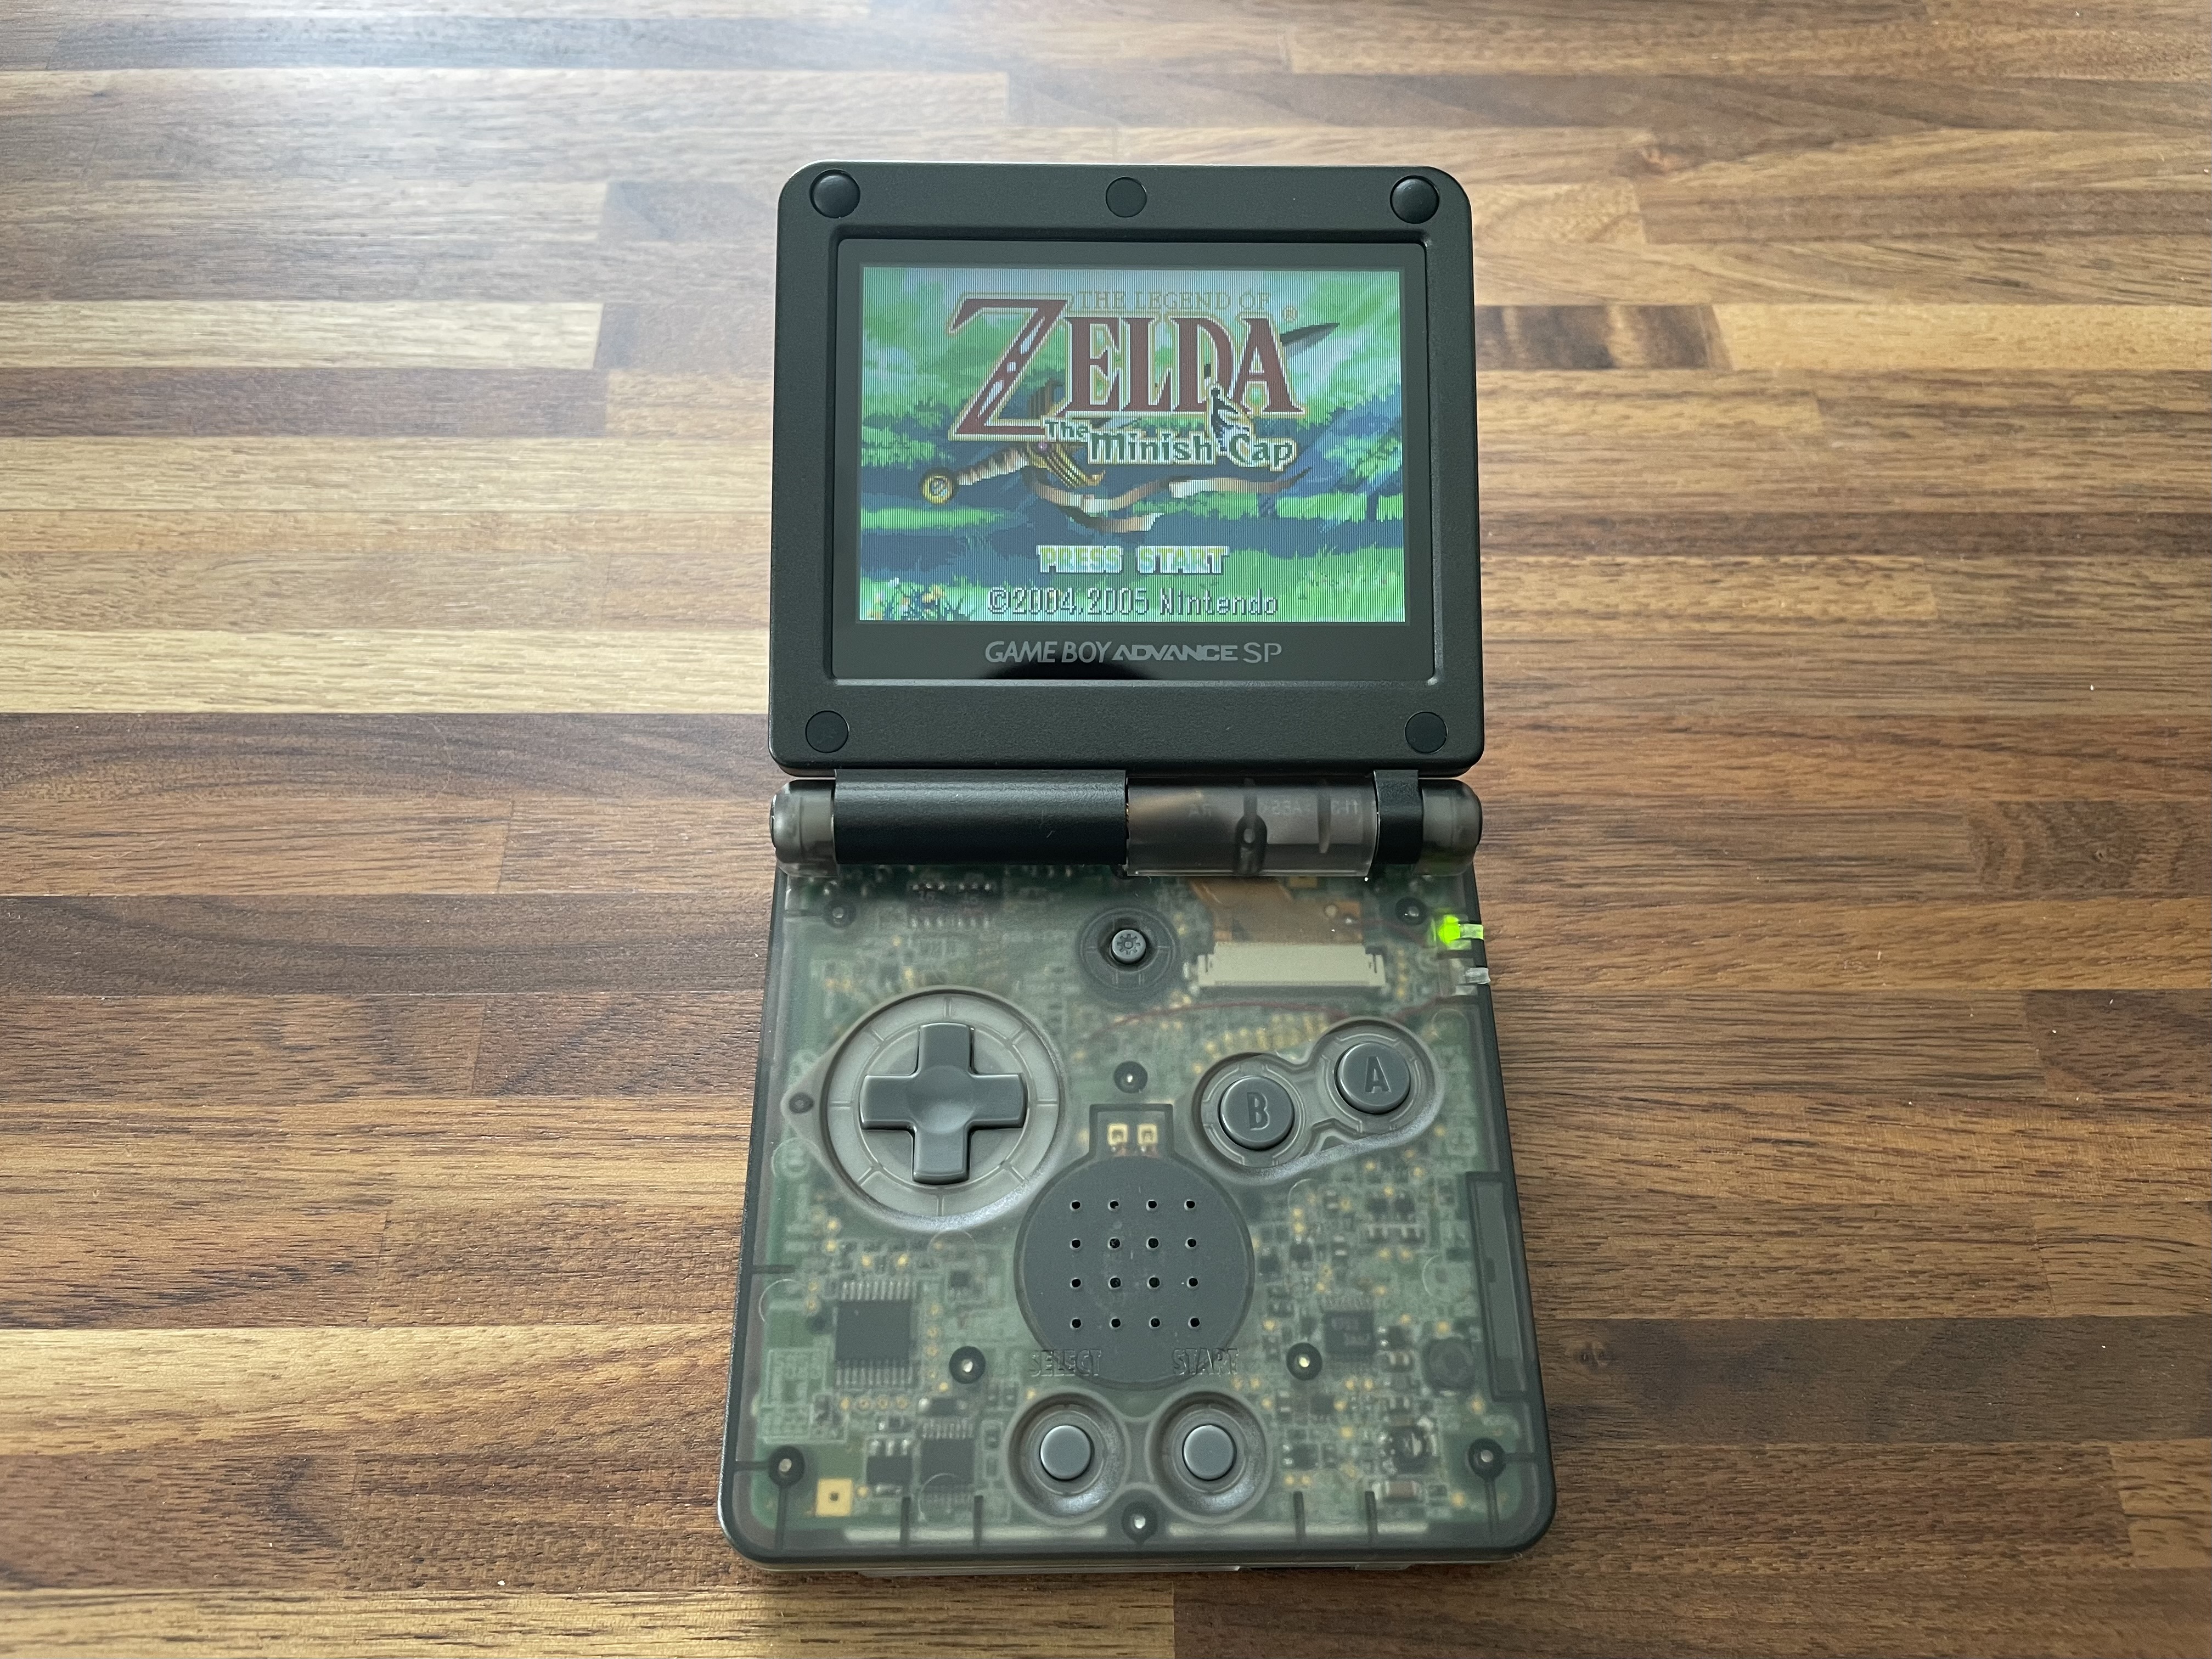
It works!
I ended up with translucent black for the body and solid black for the screen housing. You can see the red wire that connects the ribbon cable to the brightness button.
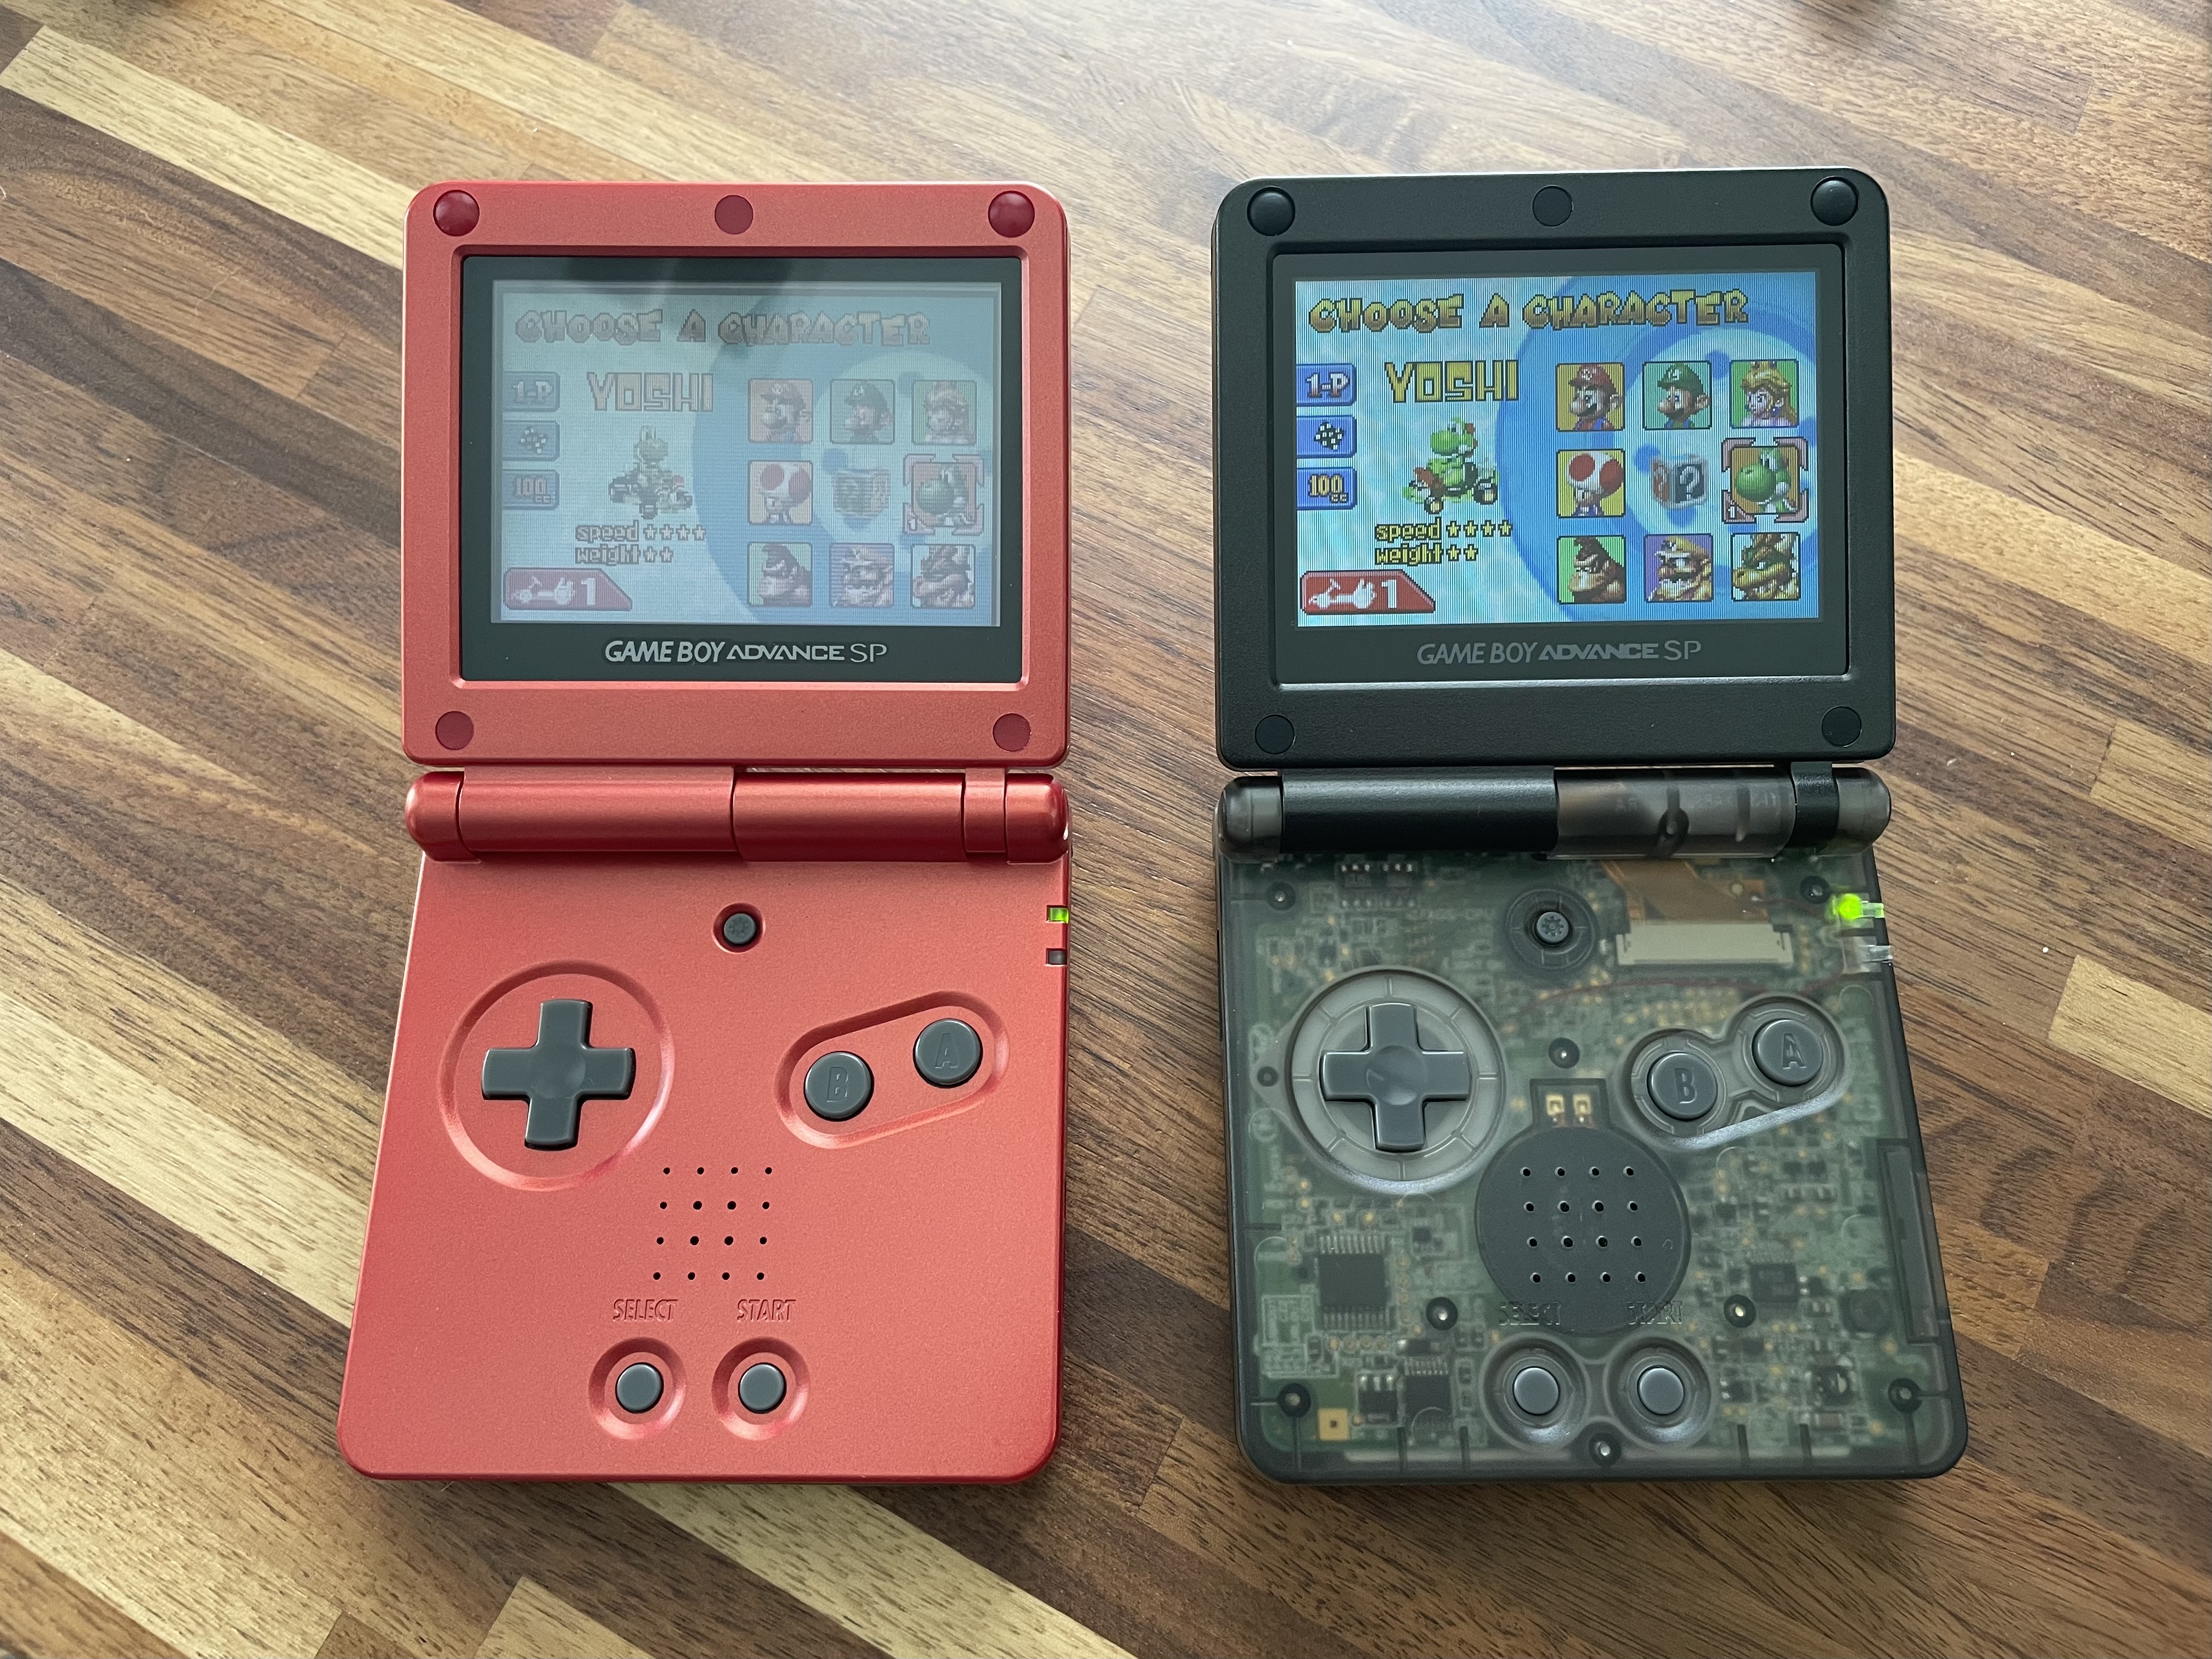
Here's a side by side with my original GBA SP. A world of difference.

And here's a comparison with my modded GBA. I'm pleasantly surprised how much I like the vertical scanline option. At a distance it provides enough chunkiness to simulate an old display reasonably well. Would I prefer an ITA or AGS-101 screen? Probably! But until better ITA modkit options become available, IPS will have to do. For now, I'm happy to have an SP with a bright screen and a cool shell.